Background
This is a project I’ve been working on for a while. I designed and built my first 3D printer in high school, but it just wasn’t great. It worked okay and produced decent prints, but it had a really large footprint and a comparatively small build volume. It also didn’t have any sort of auto-bed leveling and the wire management was… bad. I’ve set out to build a few more printers since then. Some of them didn’t even work, most of them never got finished, and one of them worked decently, but suffered from similar design issues as the first printer I designed. There were wires everywhere, the build area was small but the footprint was not, and the whole thing was not very good looking.
Work
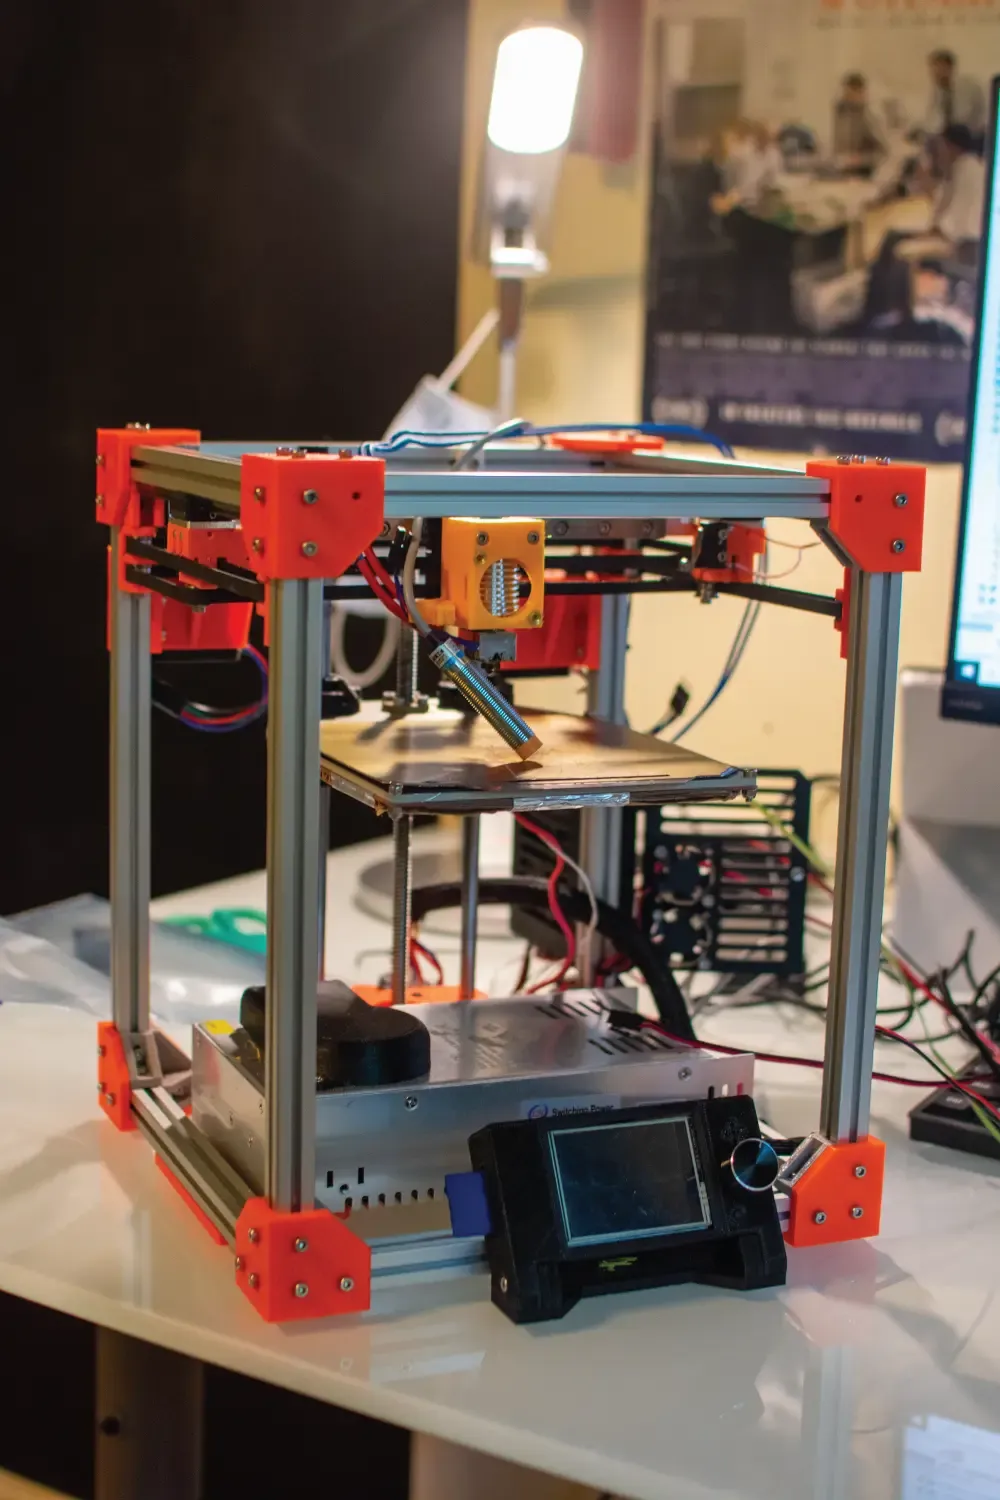
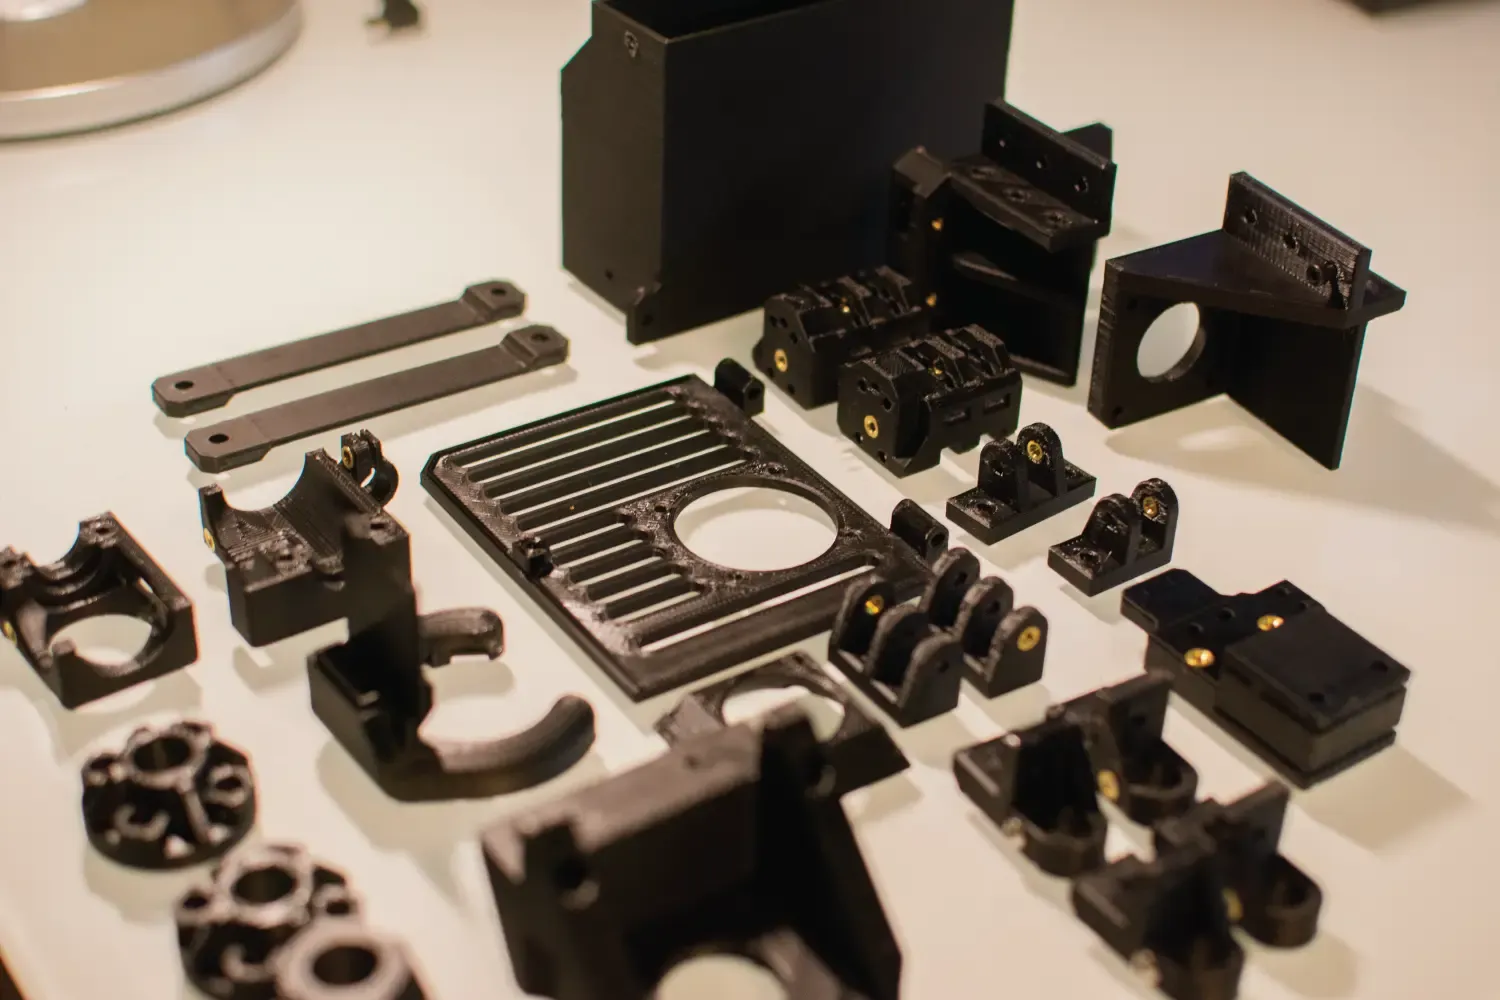
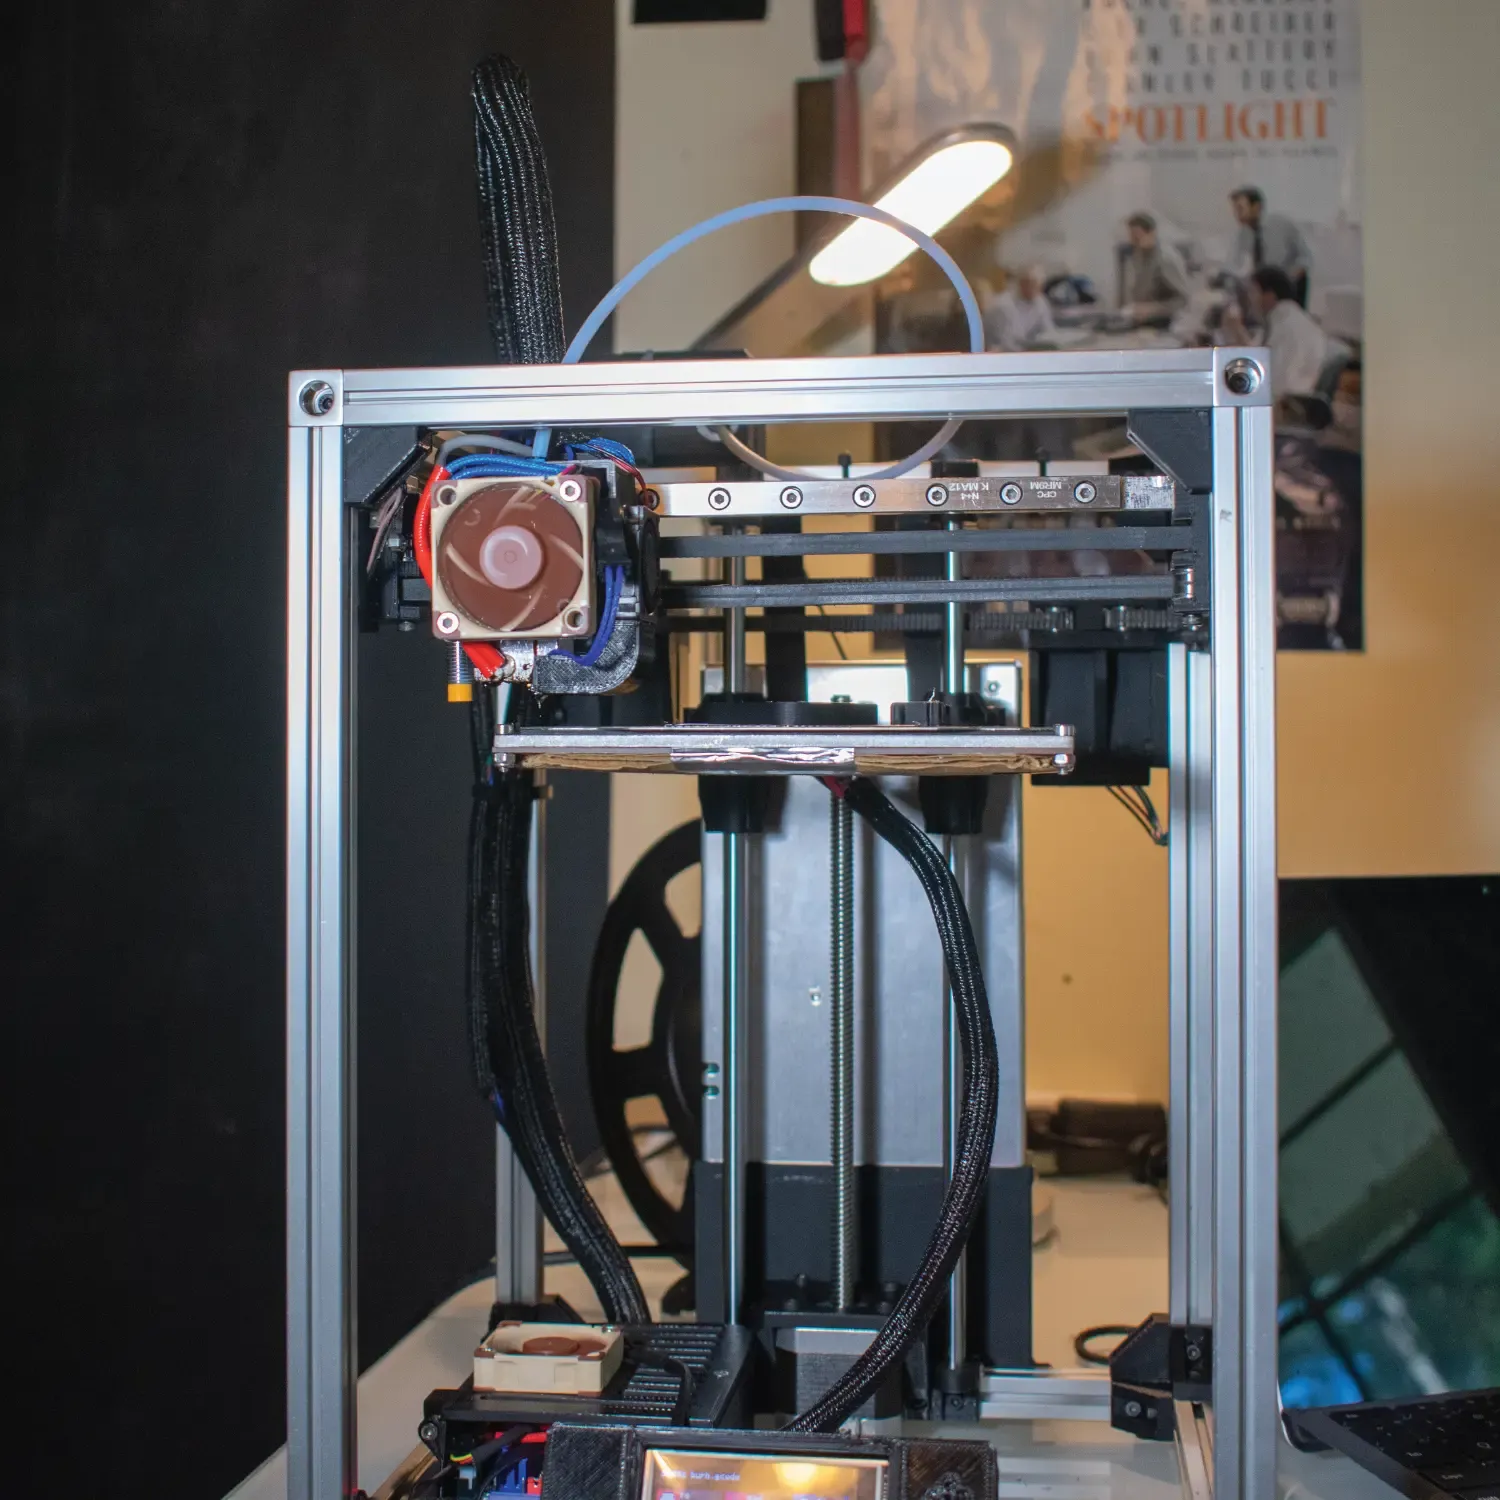
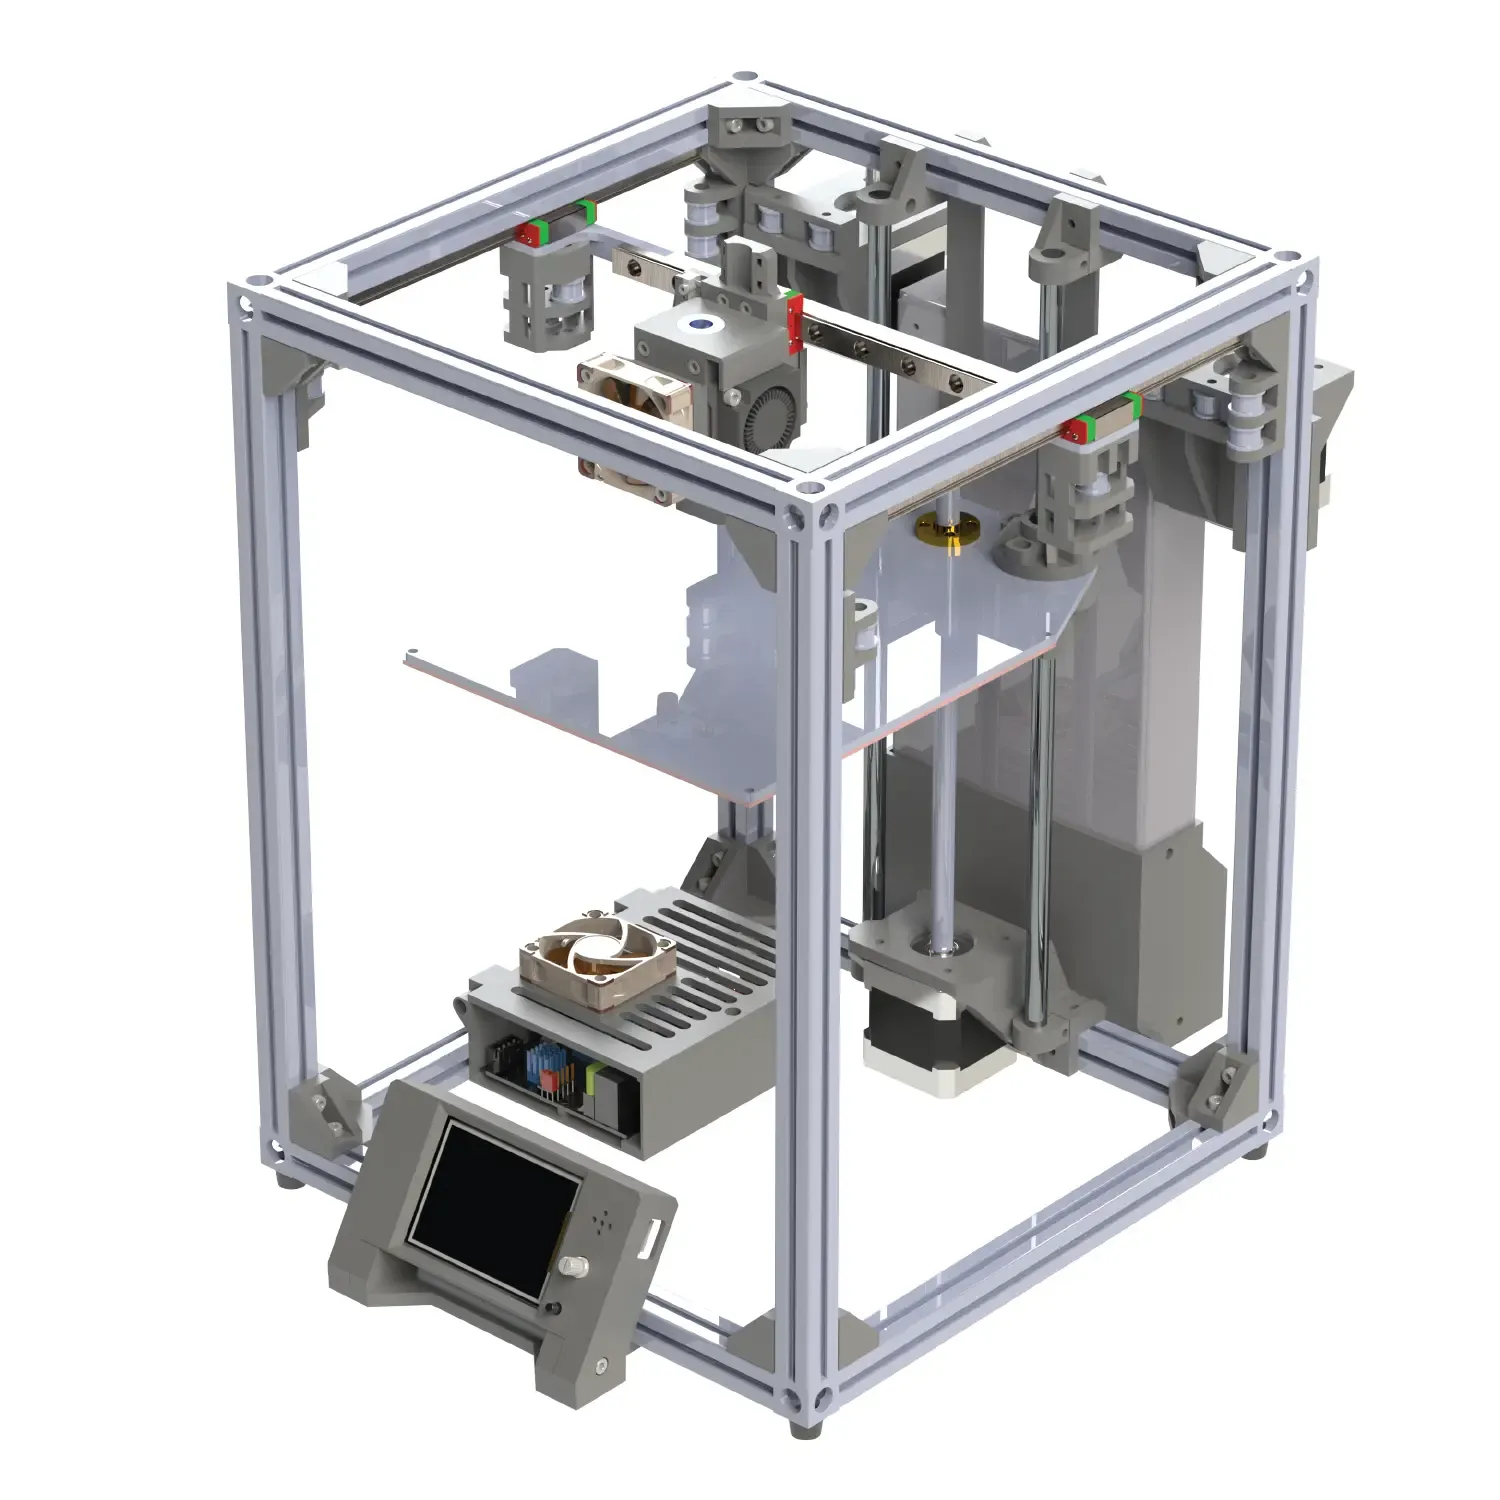
In the fall of 2019 I decided to give it another shot. I slowly worked through the design in my free time from about August 2019 to June 2020. As of the posting of this page (late June 2020), I’ve finally settled on a design that I would call “finished.” I designed a number of parts for the printer in SolidWorks. When I was initially working on the design, I used 3D printers available at Georgia Tech to print these parts out. I also designed the X-axis to be machined out of aluminum, which I machined on a CNC mill. Once I reached a point where my printer was able to somewhat function on its own, I started using it to print upgrades for itself. Here’s a rundown of some of the printer specifications.
| Spec | Value |
|---|---|
| Footprint | 250mm x 250mm x 330mm (X x Y x Z) |
| Build Volume | 150mm x 150mm x 180mm (X x Y x Z) |
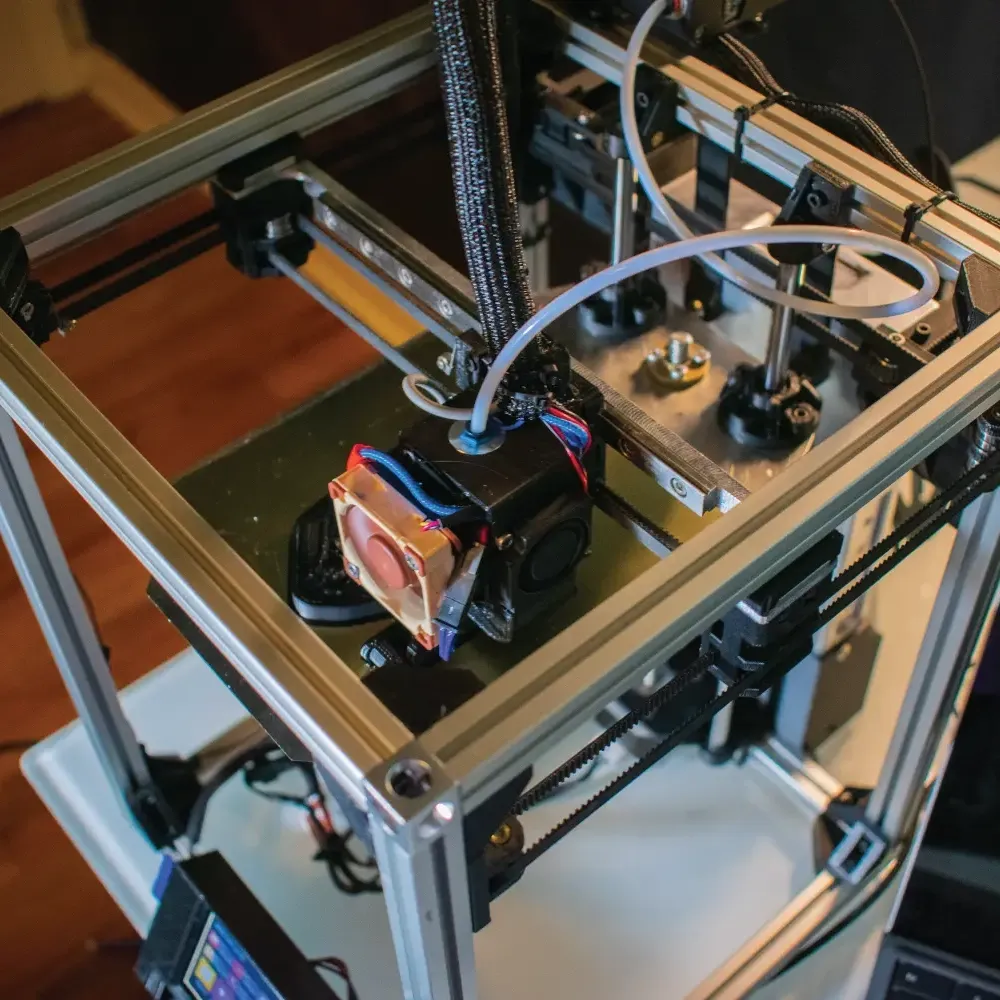
| Motion System | CoreXY |
| Control Board | 32-Bit SKR Mini E3 |
| Stepper Drivers | TMC 2209 |
| Bed Leveling | Automatic via Inductive Sensor |
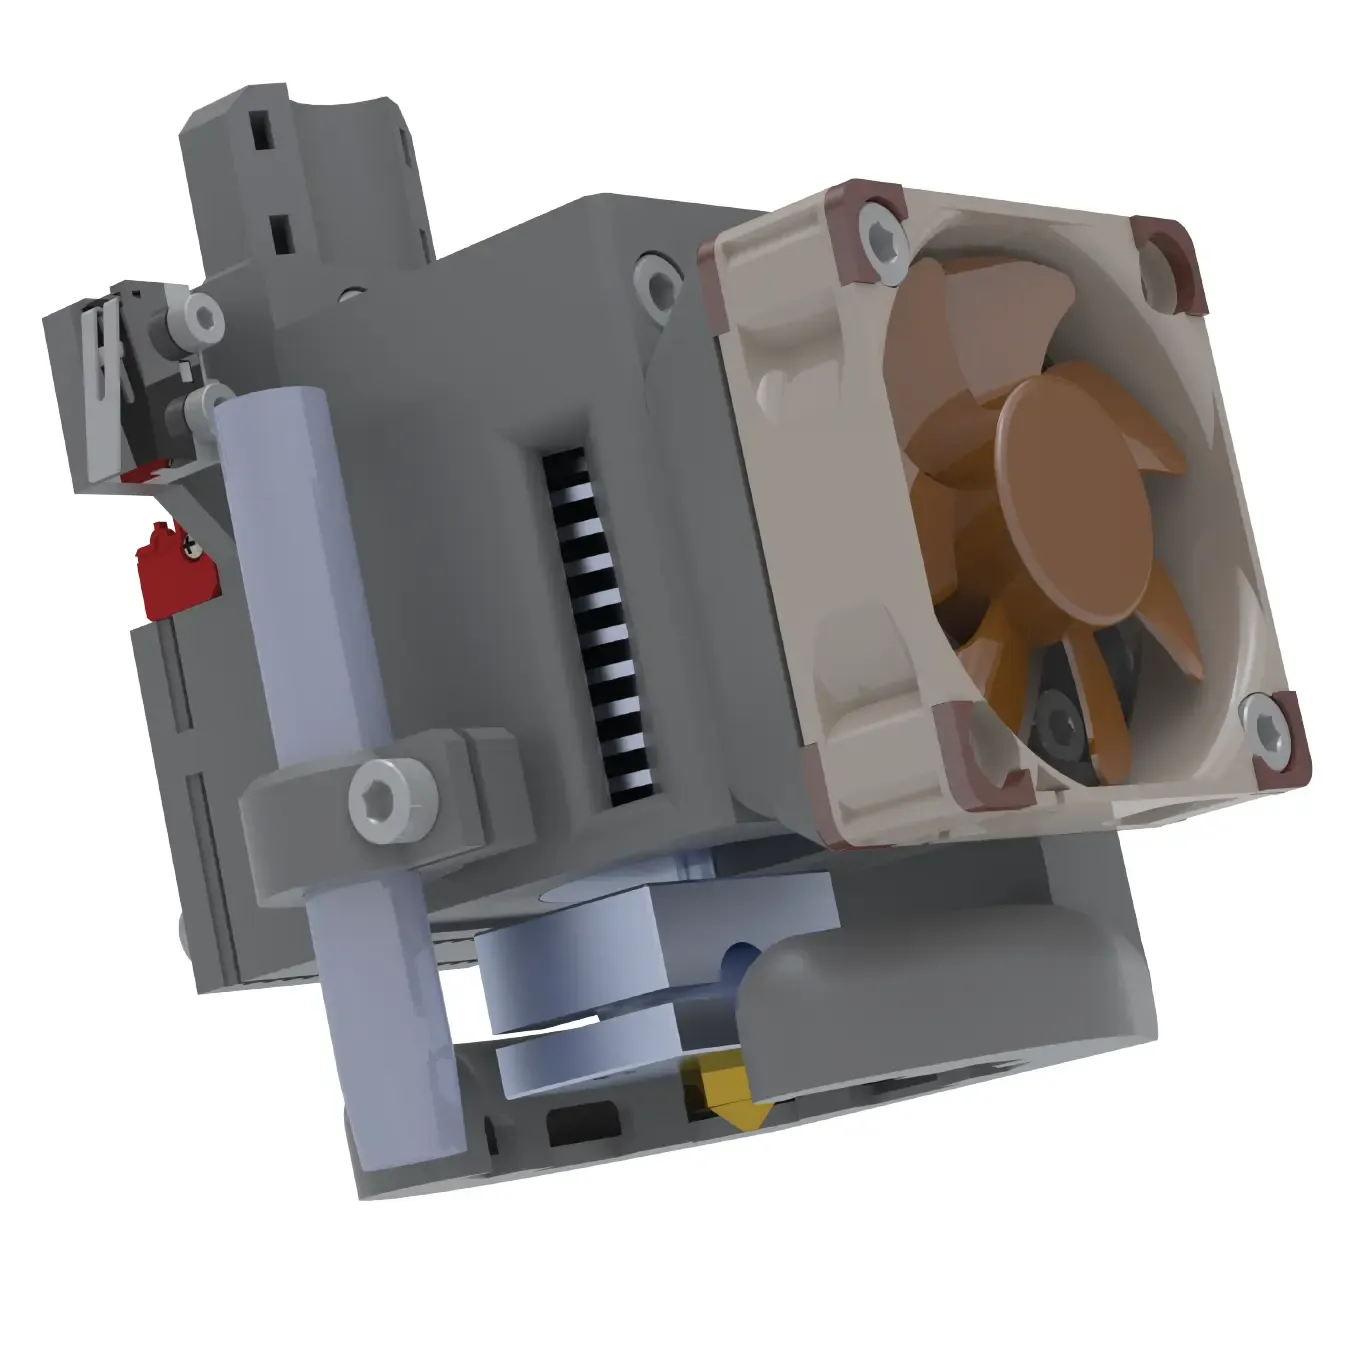
| Extruder | Dual-Gear Bowden |
| Build Plate | Magnetic |
| Linear Motion | Linear Rails on X and Y Axes |
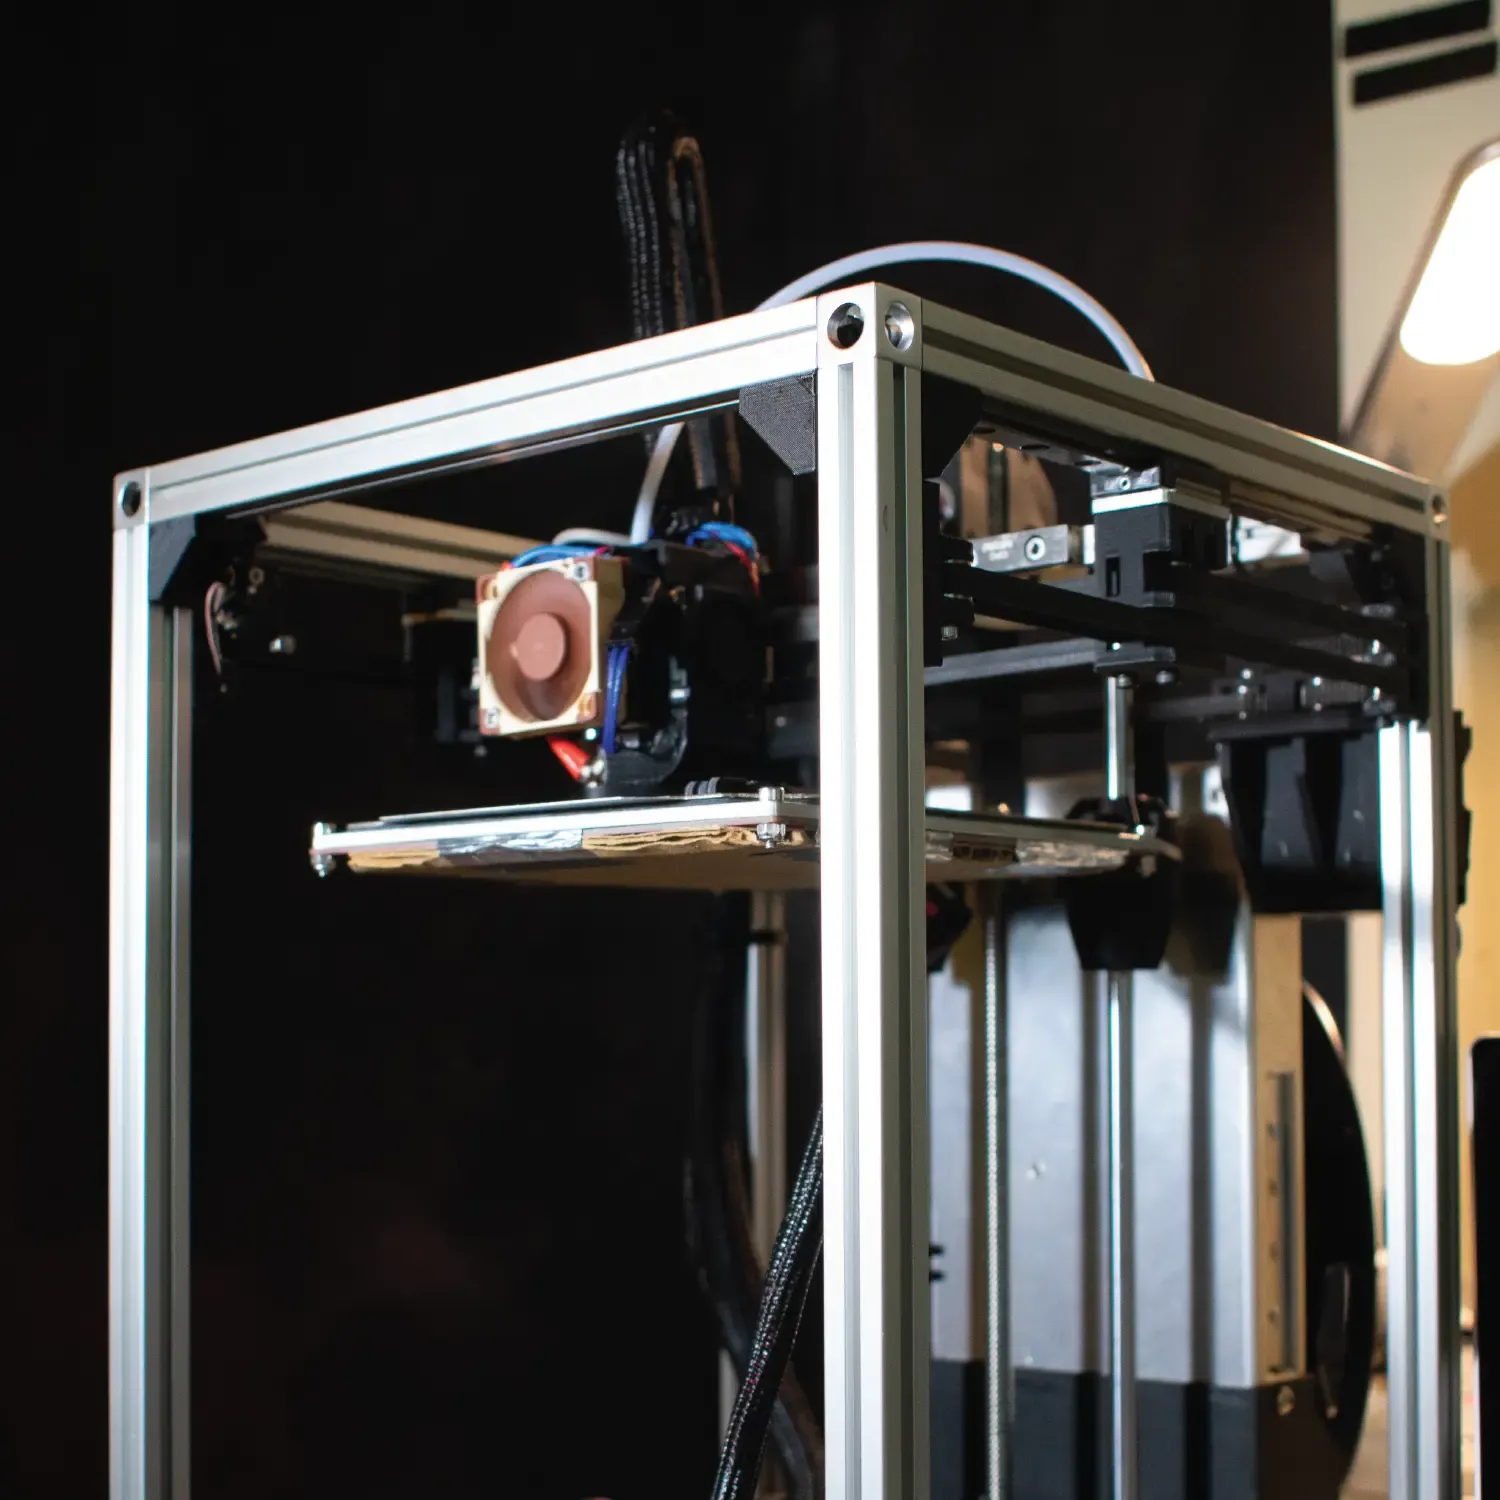
The first version of the printer (a partially disassembled version is shown
below), was used to print a bunch of parts for what I would consider the “final”
version.
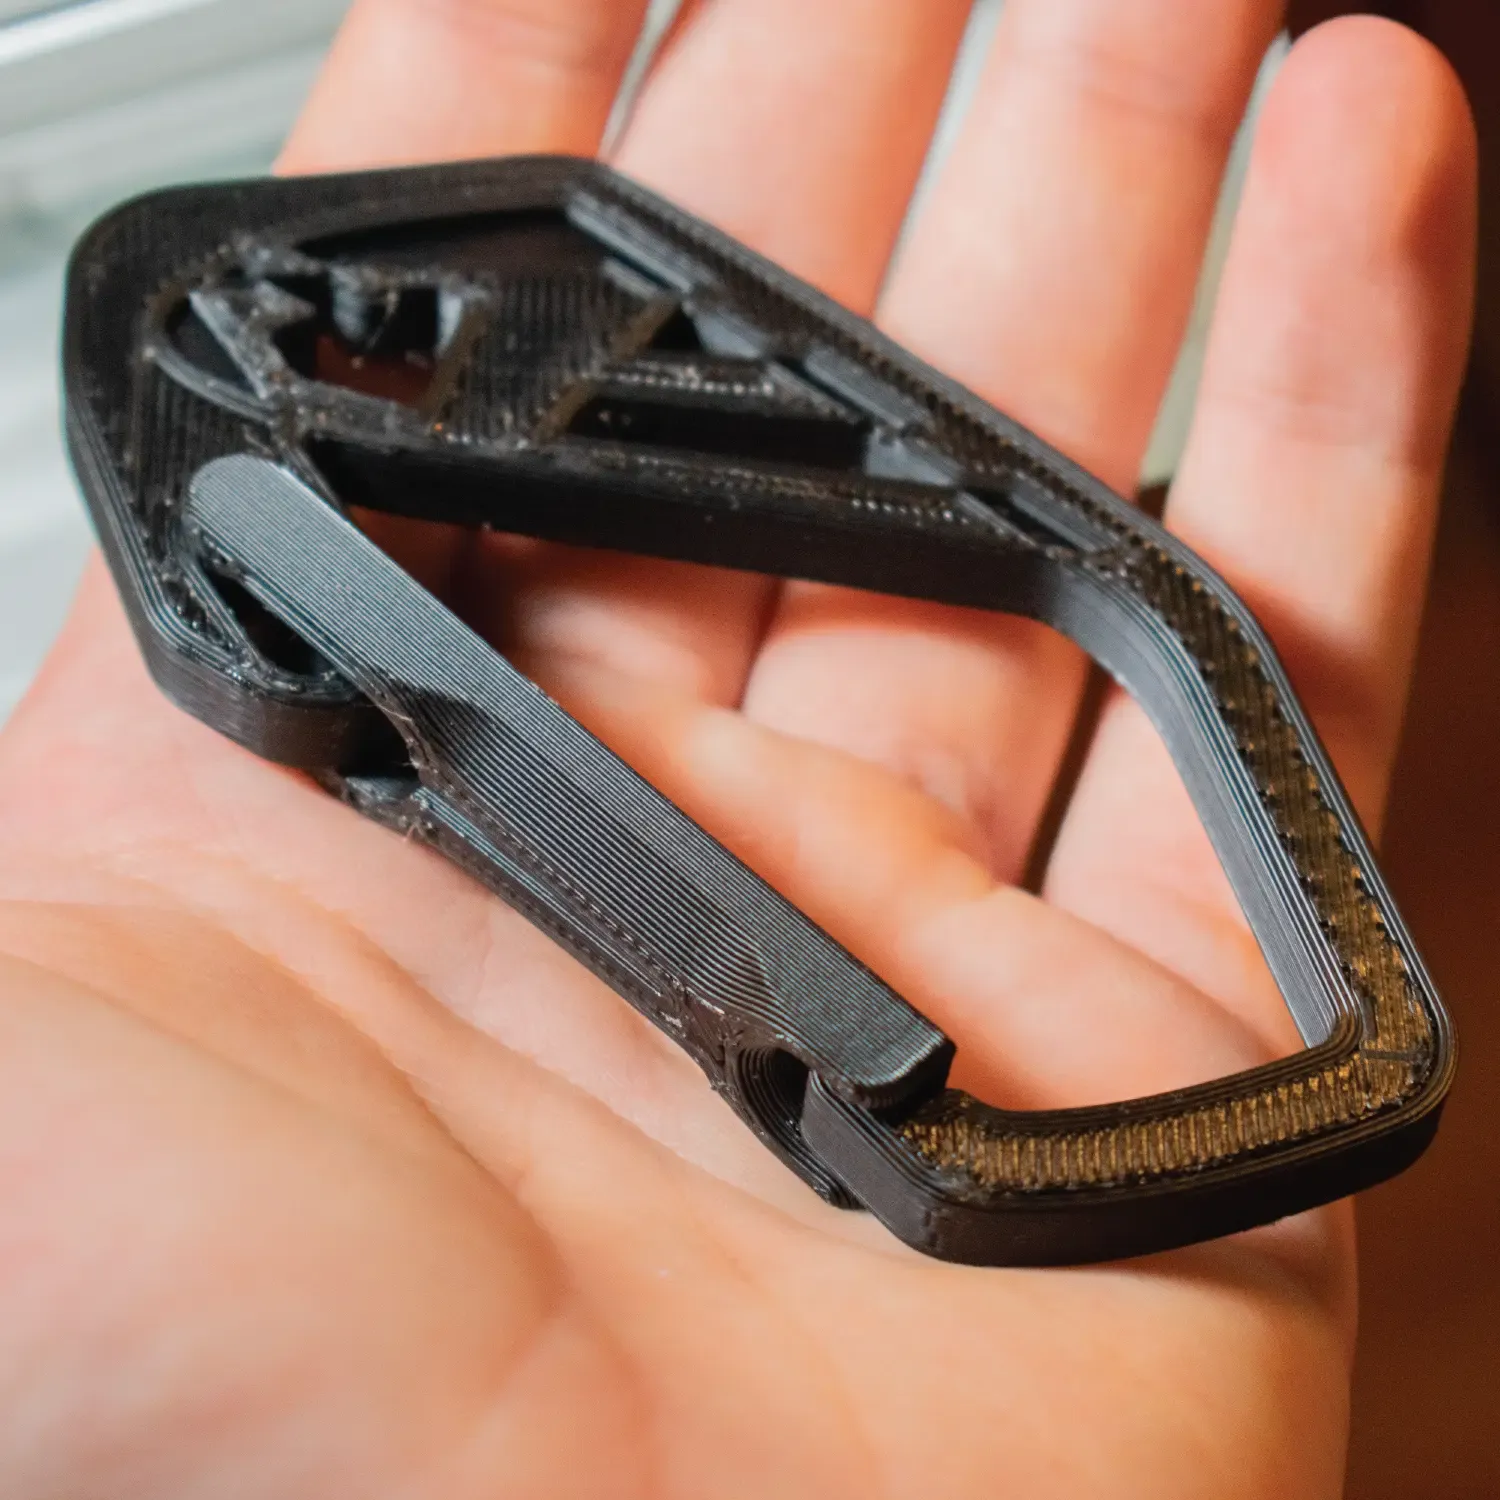
Overall, I am pretty satisfied with the final result. I’ve been running prints at around 70 mm/s (at 2000 mm/s2 acceleration) as a baseline speed and have gotten good results (you can see some of the prints in the gallery), but I’ve also successfully run prints at up to 100 mm/s print speed with no errors and little drop in print quality. I’m happy with the print quality and parts dimensions come out accurately.
If I were to start over, there would be a few things I would do differently. To
start, the printer has no belt tensioning system. I haven’t had any issues with
belts loosening over time (so far), but I think having a tensioning system would
be valuable to fine-tune the belt tension. Also, the printer currently runs on
12V electronics. I think next time I would’ve gone with 24V electronics for
smaller wires and faster motor speeds. While there’s a number of things I would
change and the printer is far from perfect, I’m very happy with the final result
and I had a lot of fun building it.