Has this ever happened to you?
Recently, I tossed my rOtring 600 mechanical pencil into my bag and headed to a local coffee shop. All was well, until I got to the coffee shop. I opened my bag to retrieve my prized writing utensil, and was greeted instead with disaster: the metal tube at the tip of my pencil was bent.
This actually did happen, and actually is part of the motivation for this project. Around the same time though, I’d joined a local makerspace and was searching for a project to get familiar with some of the tools there. So, I figured I’d kill two birds with one stone, and try to make a case to protect my pens and pencils from situations like this.
Design
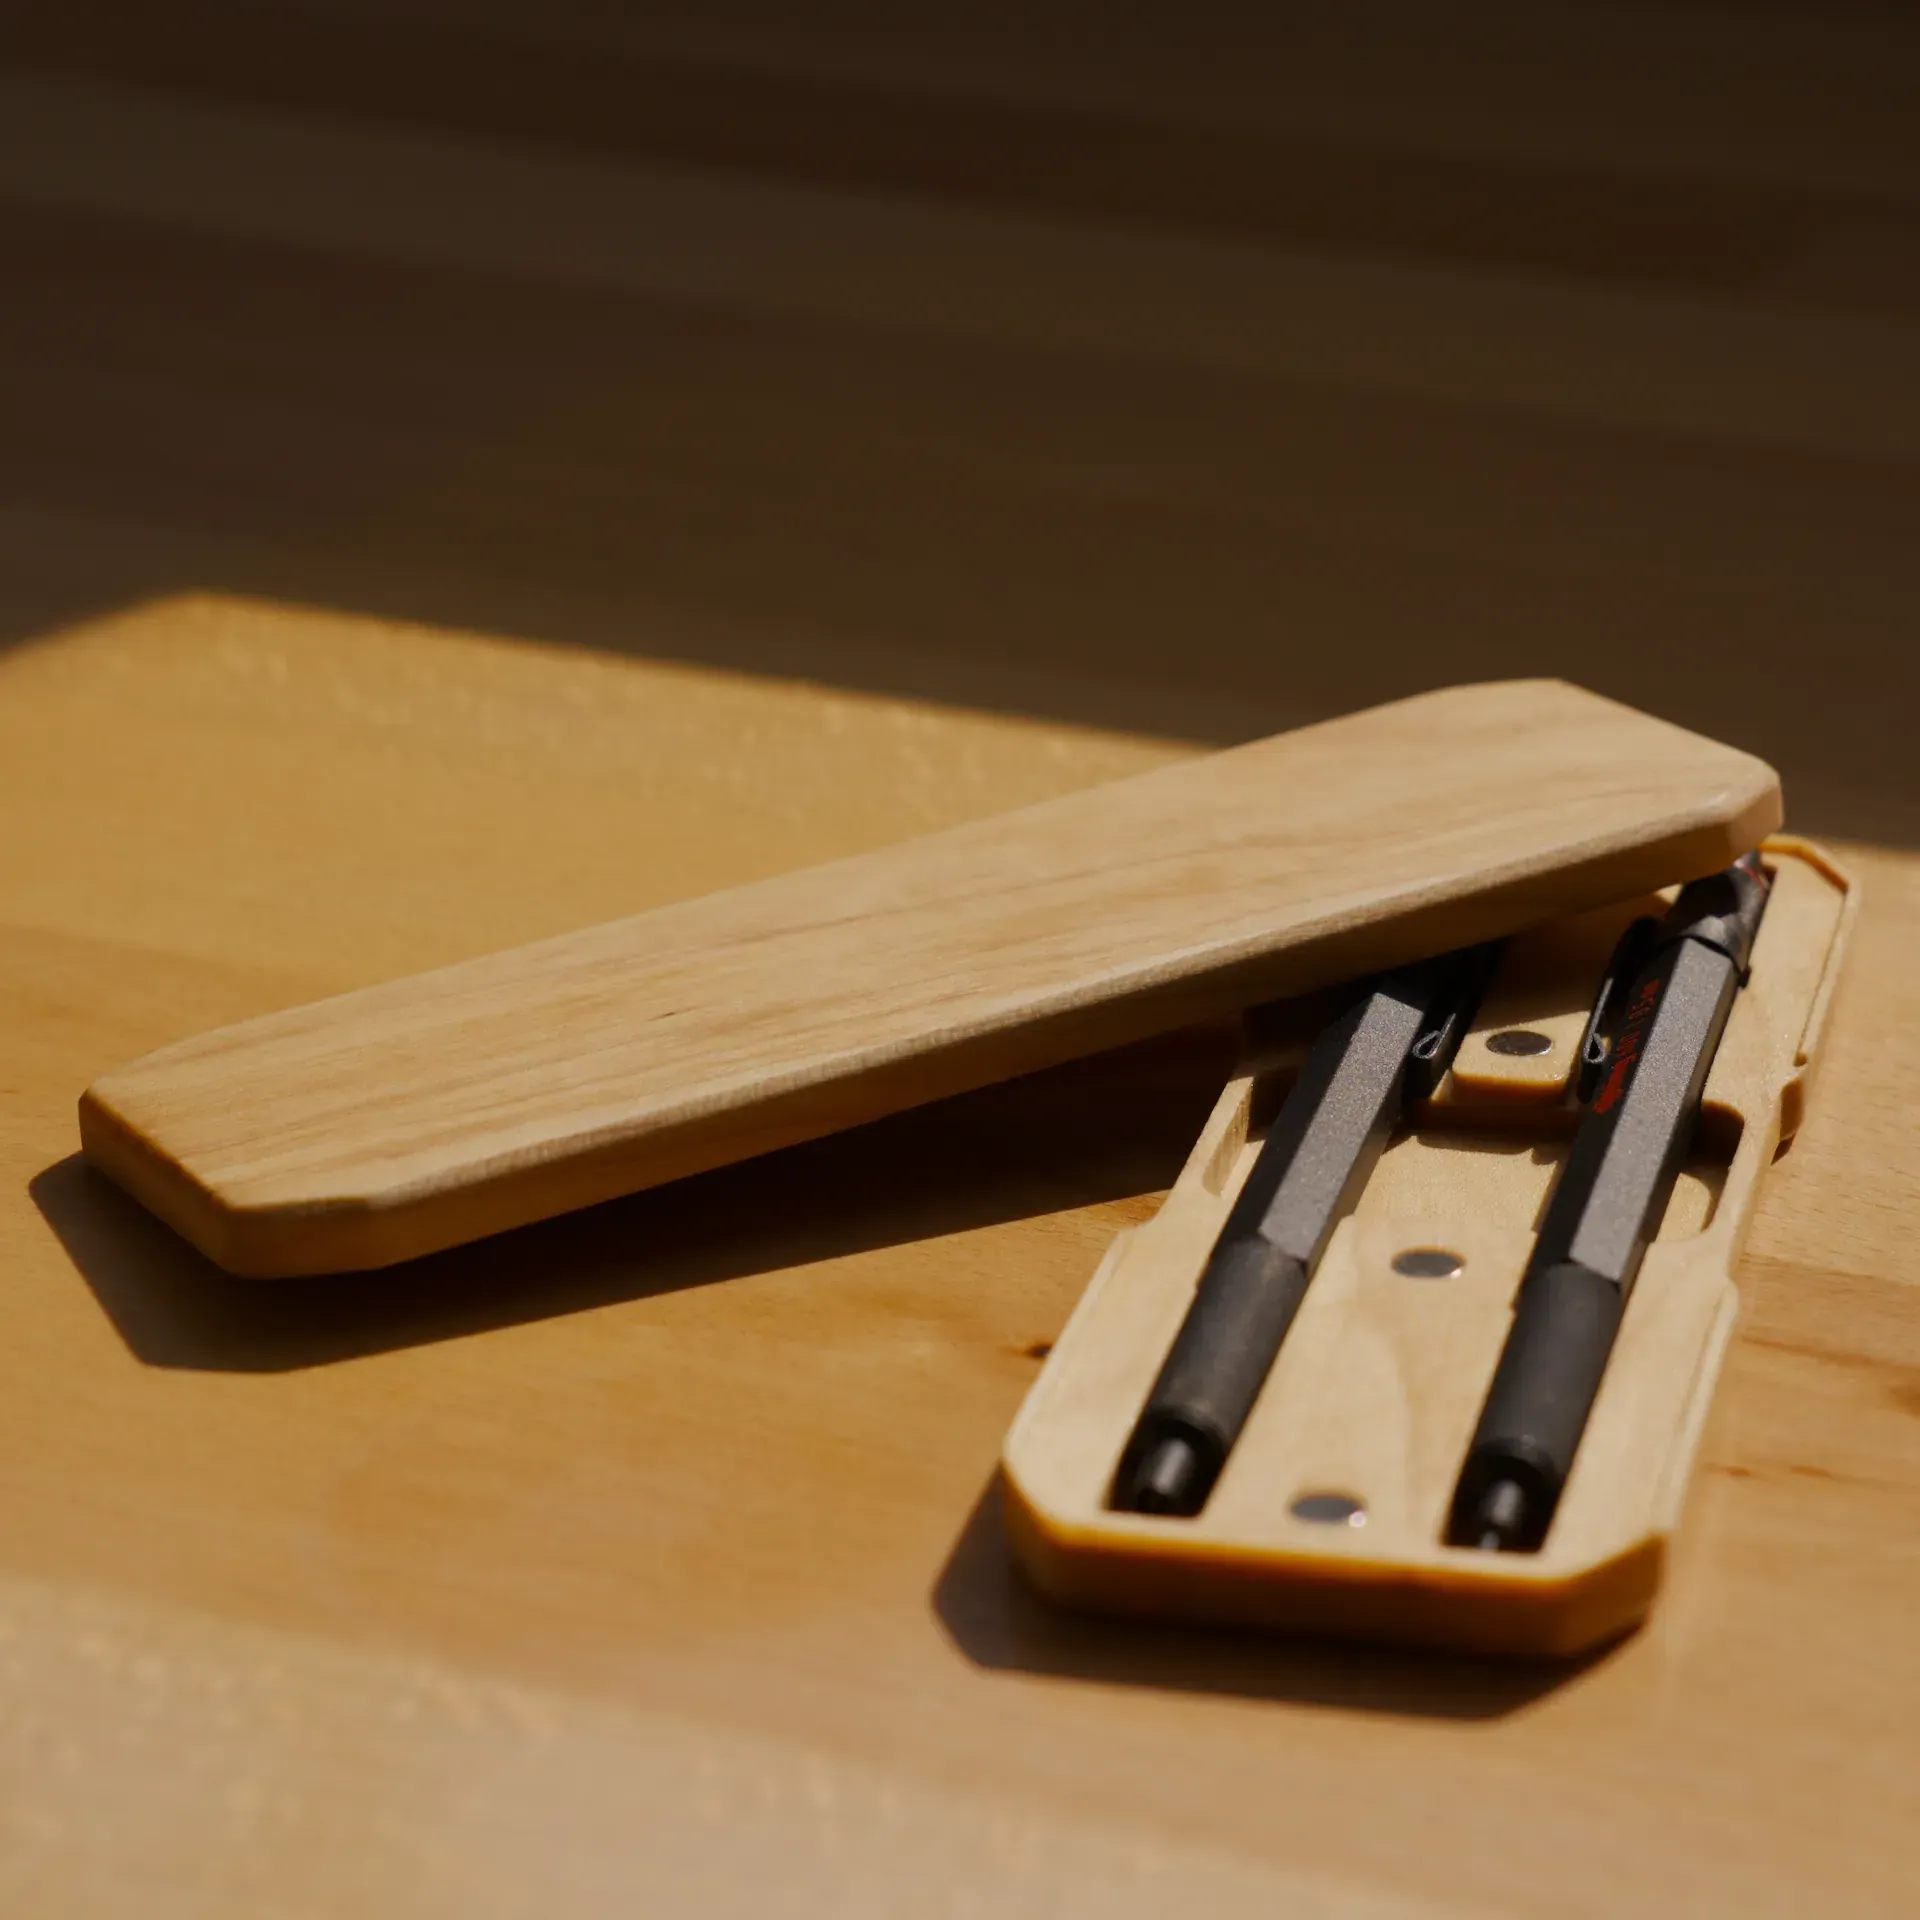
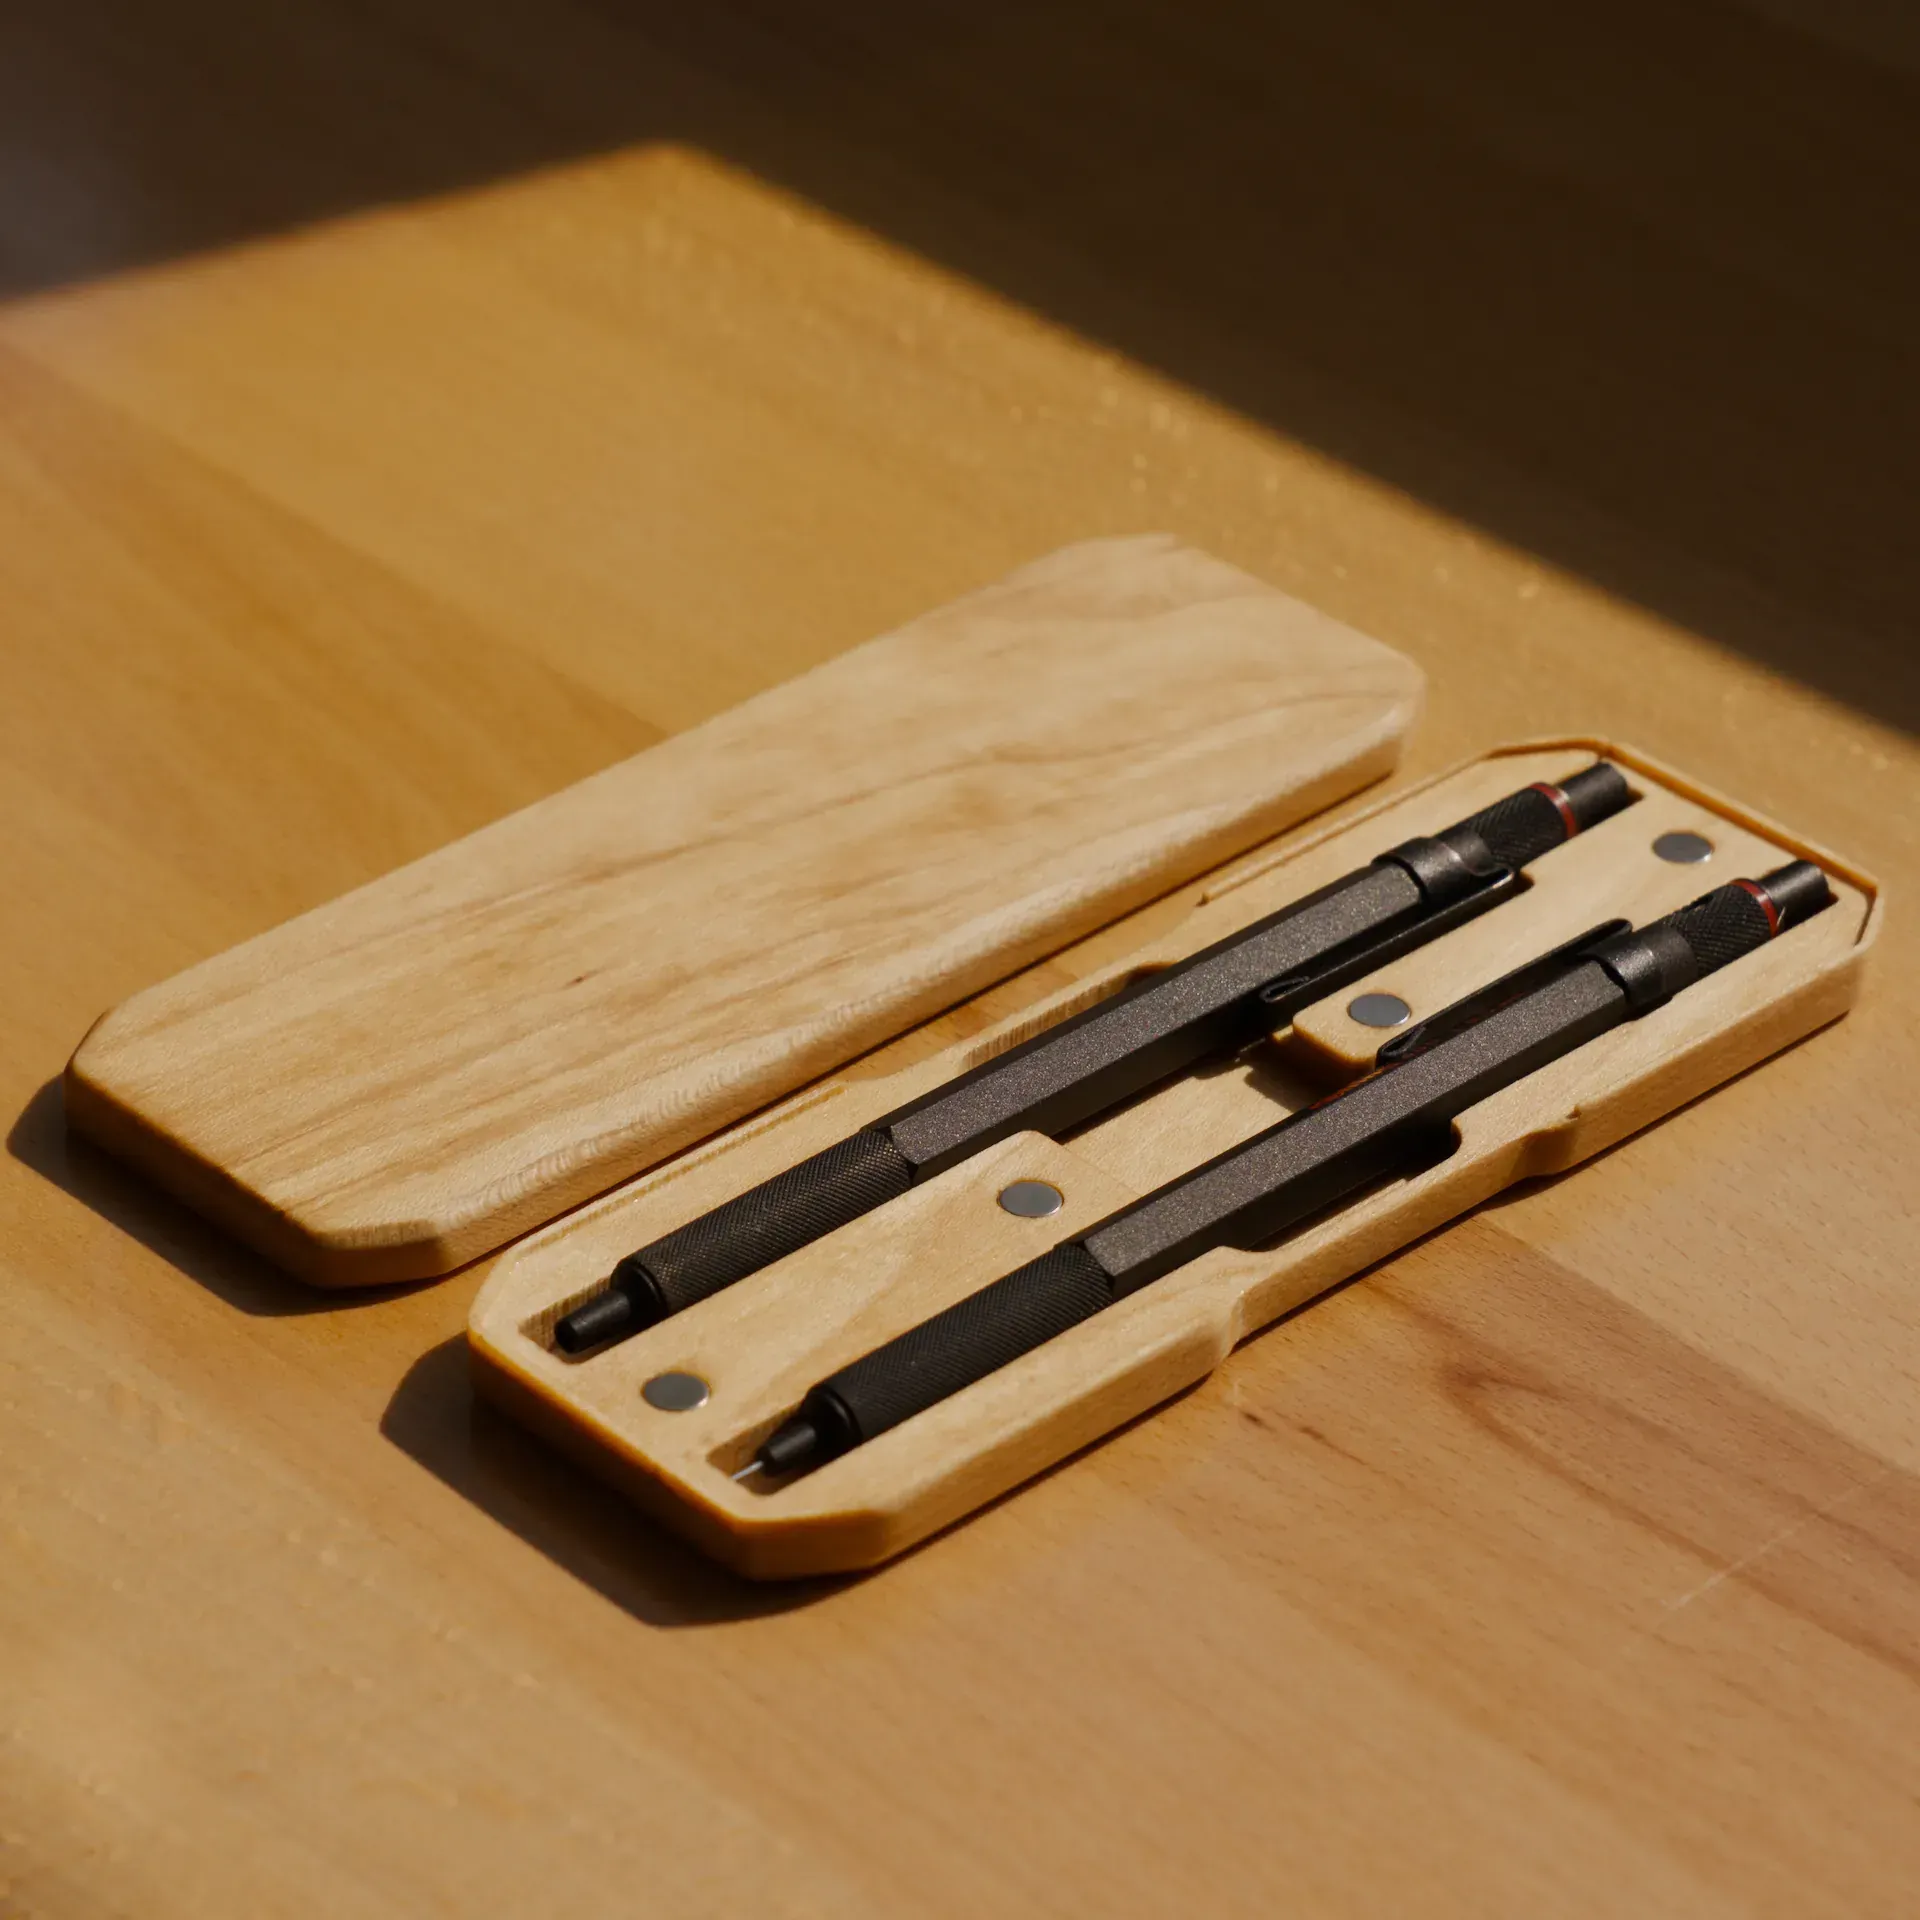
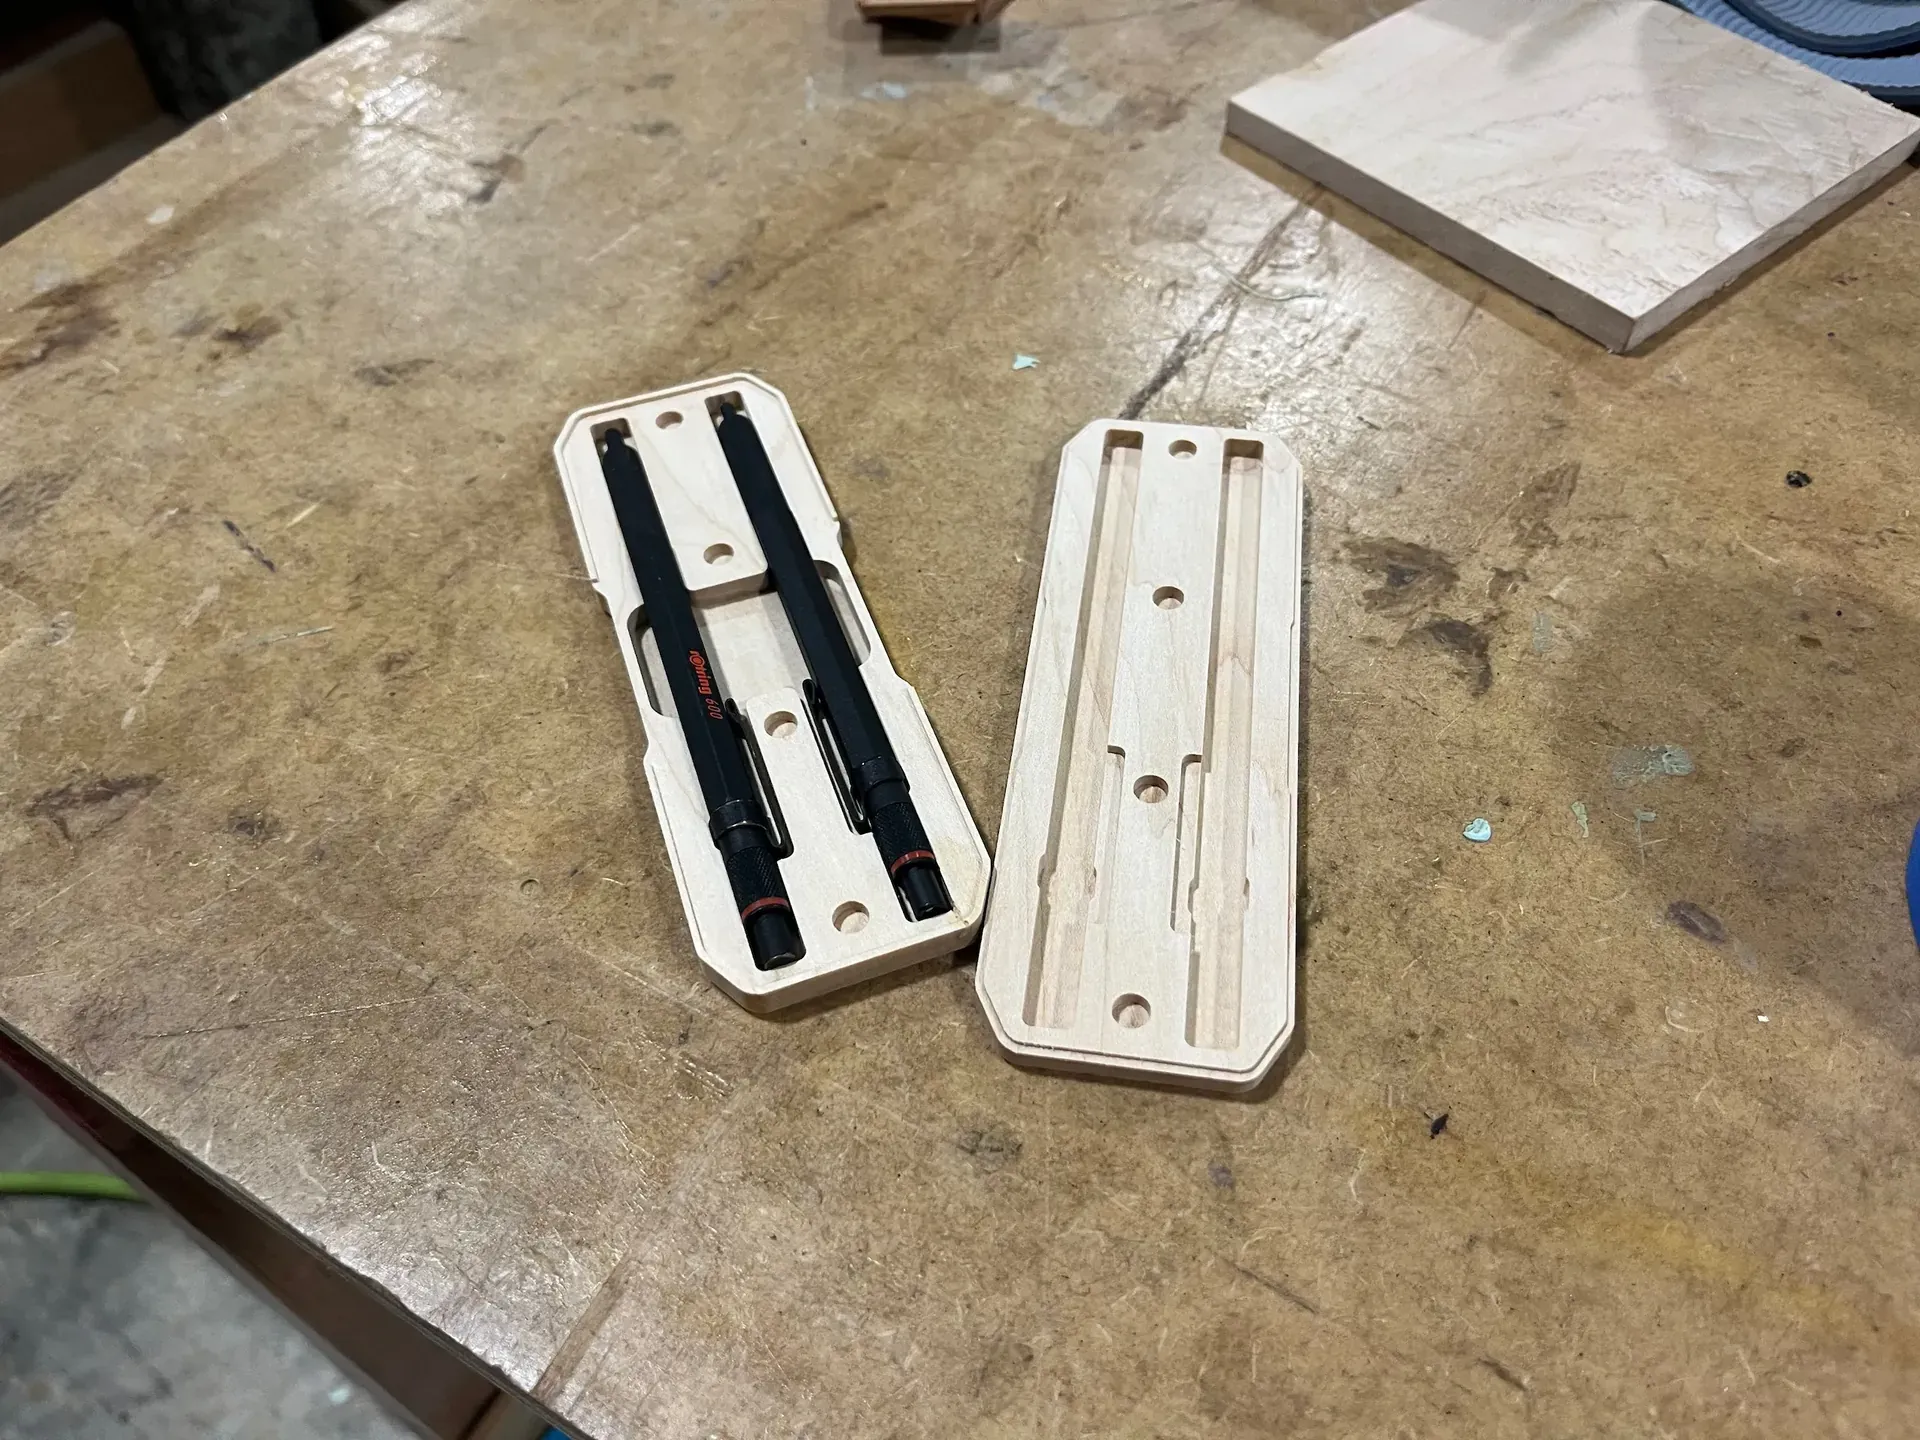
The design for this project was straightforward: a two-part case with two slots for rOtring pens or pencils, magnets to hold the case together, and a lip to align the two parts.
I iterated on the details a bit via 3D printing and made some small refinements here and there, but I didn’t significantly change the general shape of the design from the original concept. The final design is below.
Manufacturing
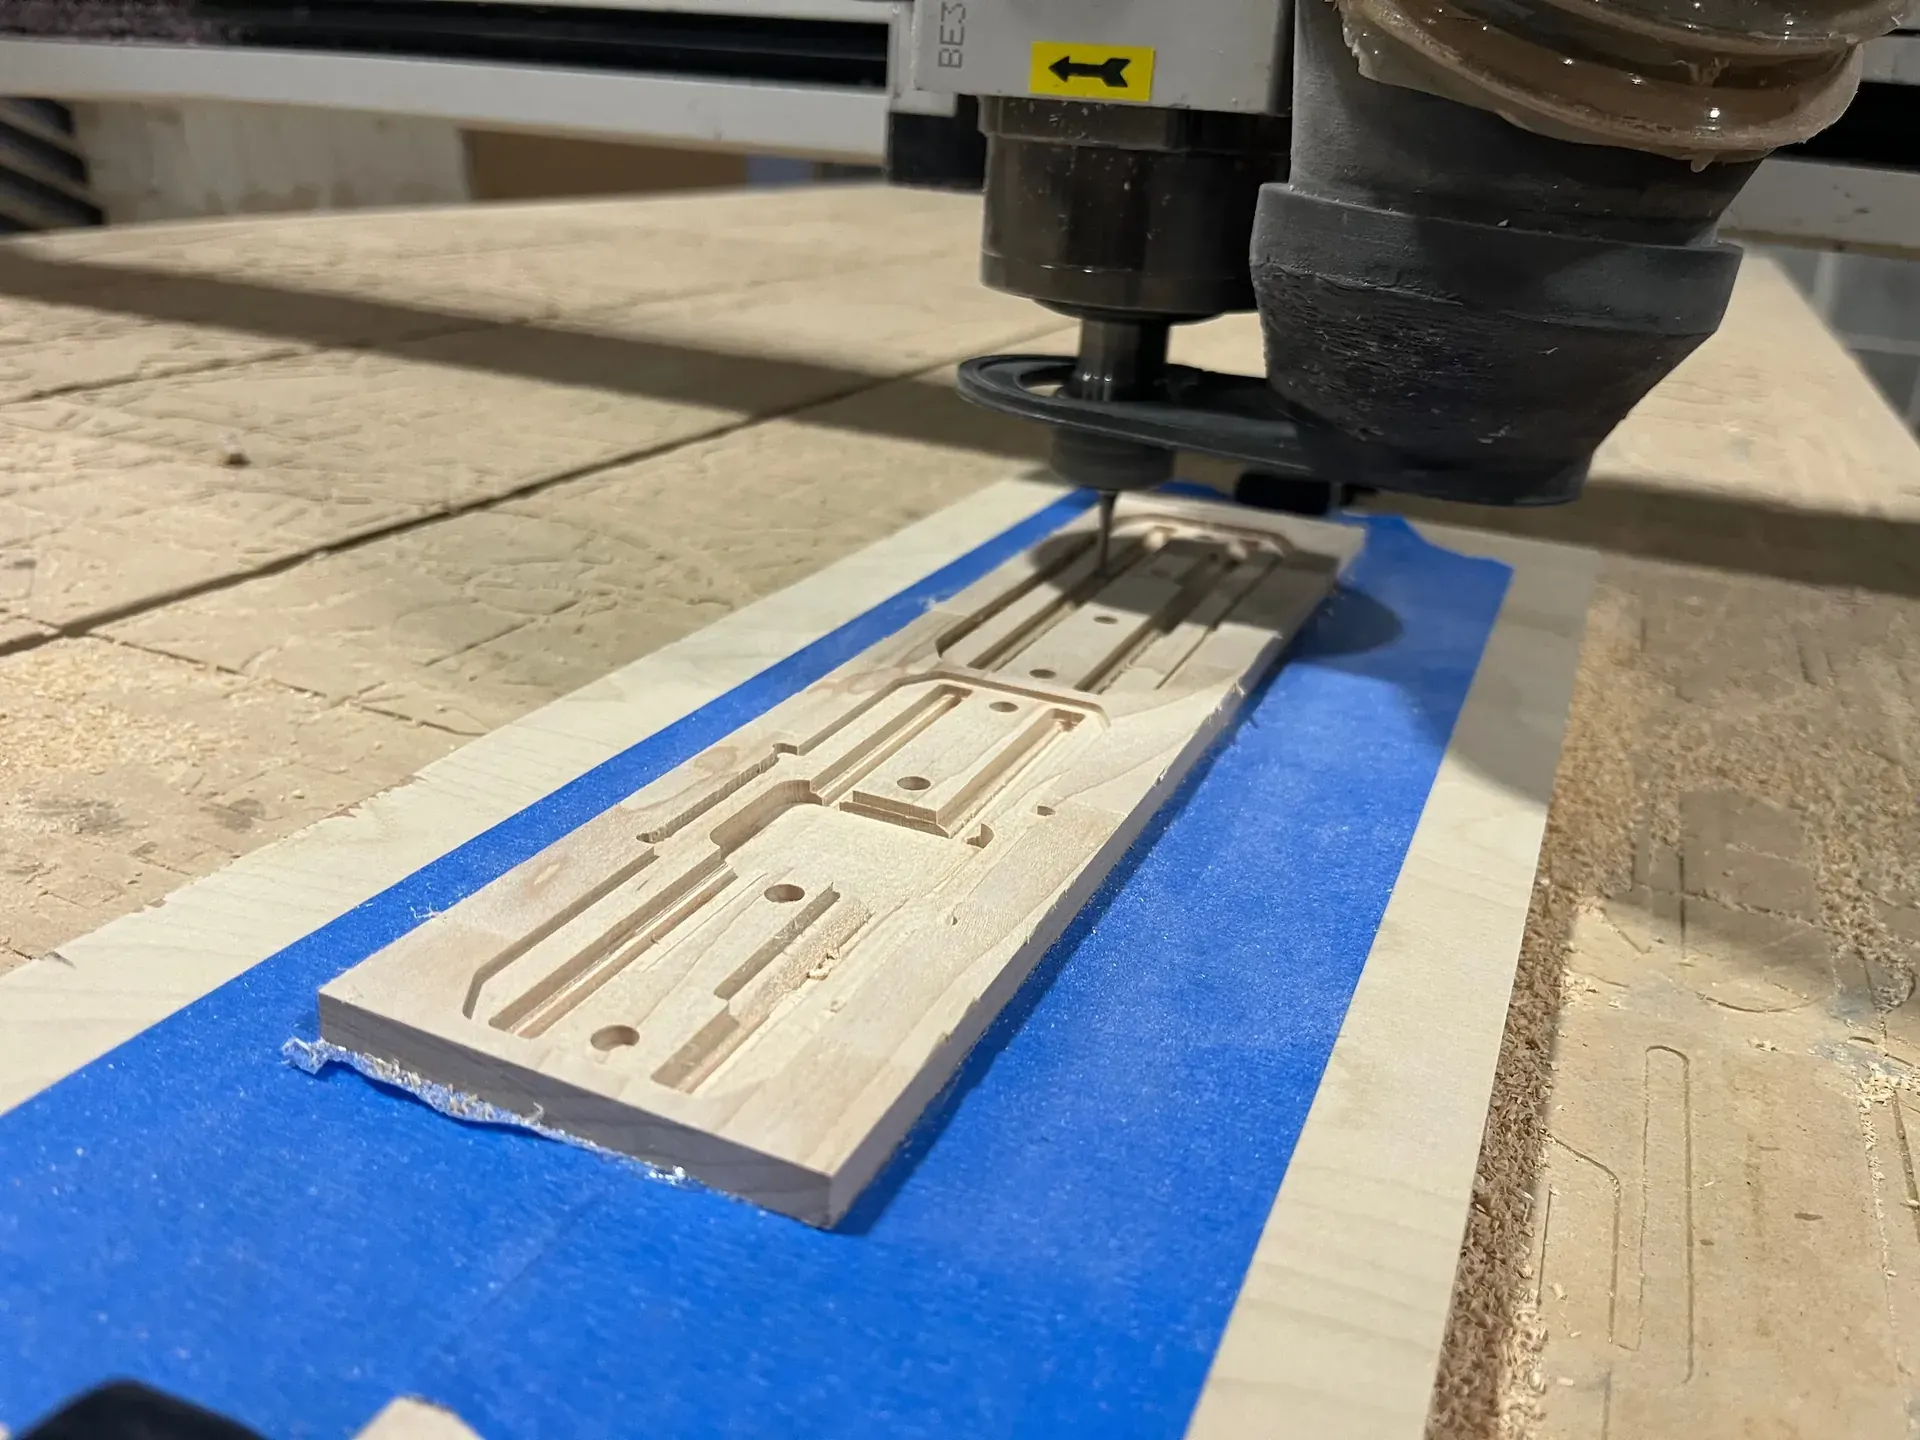
Manufacturing was fairly clear-cut. I machined both halves of the case from a single piece of maple, using blue tape and super glue for workholding. The biggest challenge I ran into was just working around the age of the Techno LC 4896 CNC router at the makerspace.
This machine is probably in the ballpark of 20 years old, which presented some interesting quirks. Most notably, 2D and 3D adaptive toolpaths don’t work, presumably due to the specs of the control processor. I ended up just using 2D pockets for everything.
I also ran into a problem that I would categorize as probably more of a skill issue than anything else. The first time I tried milling out the case, I wound up with this huge gap between the two parts, which are designed to be flush.
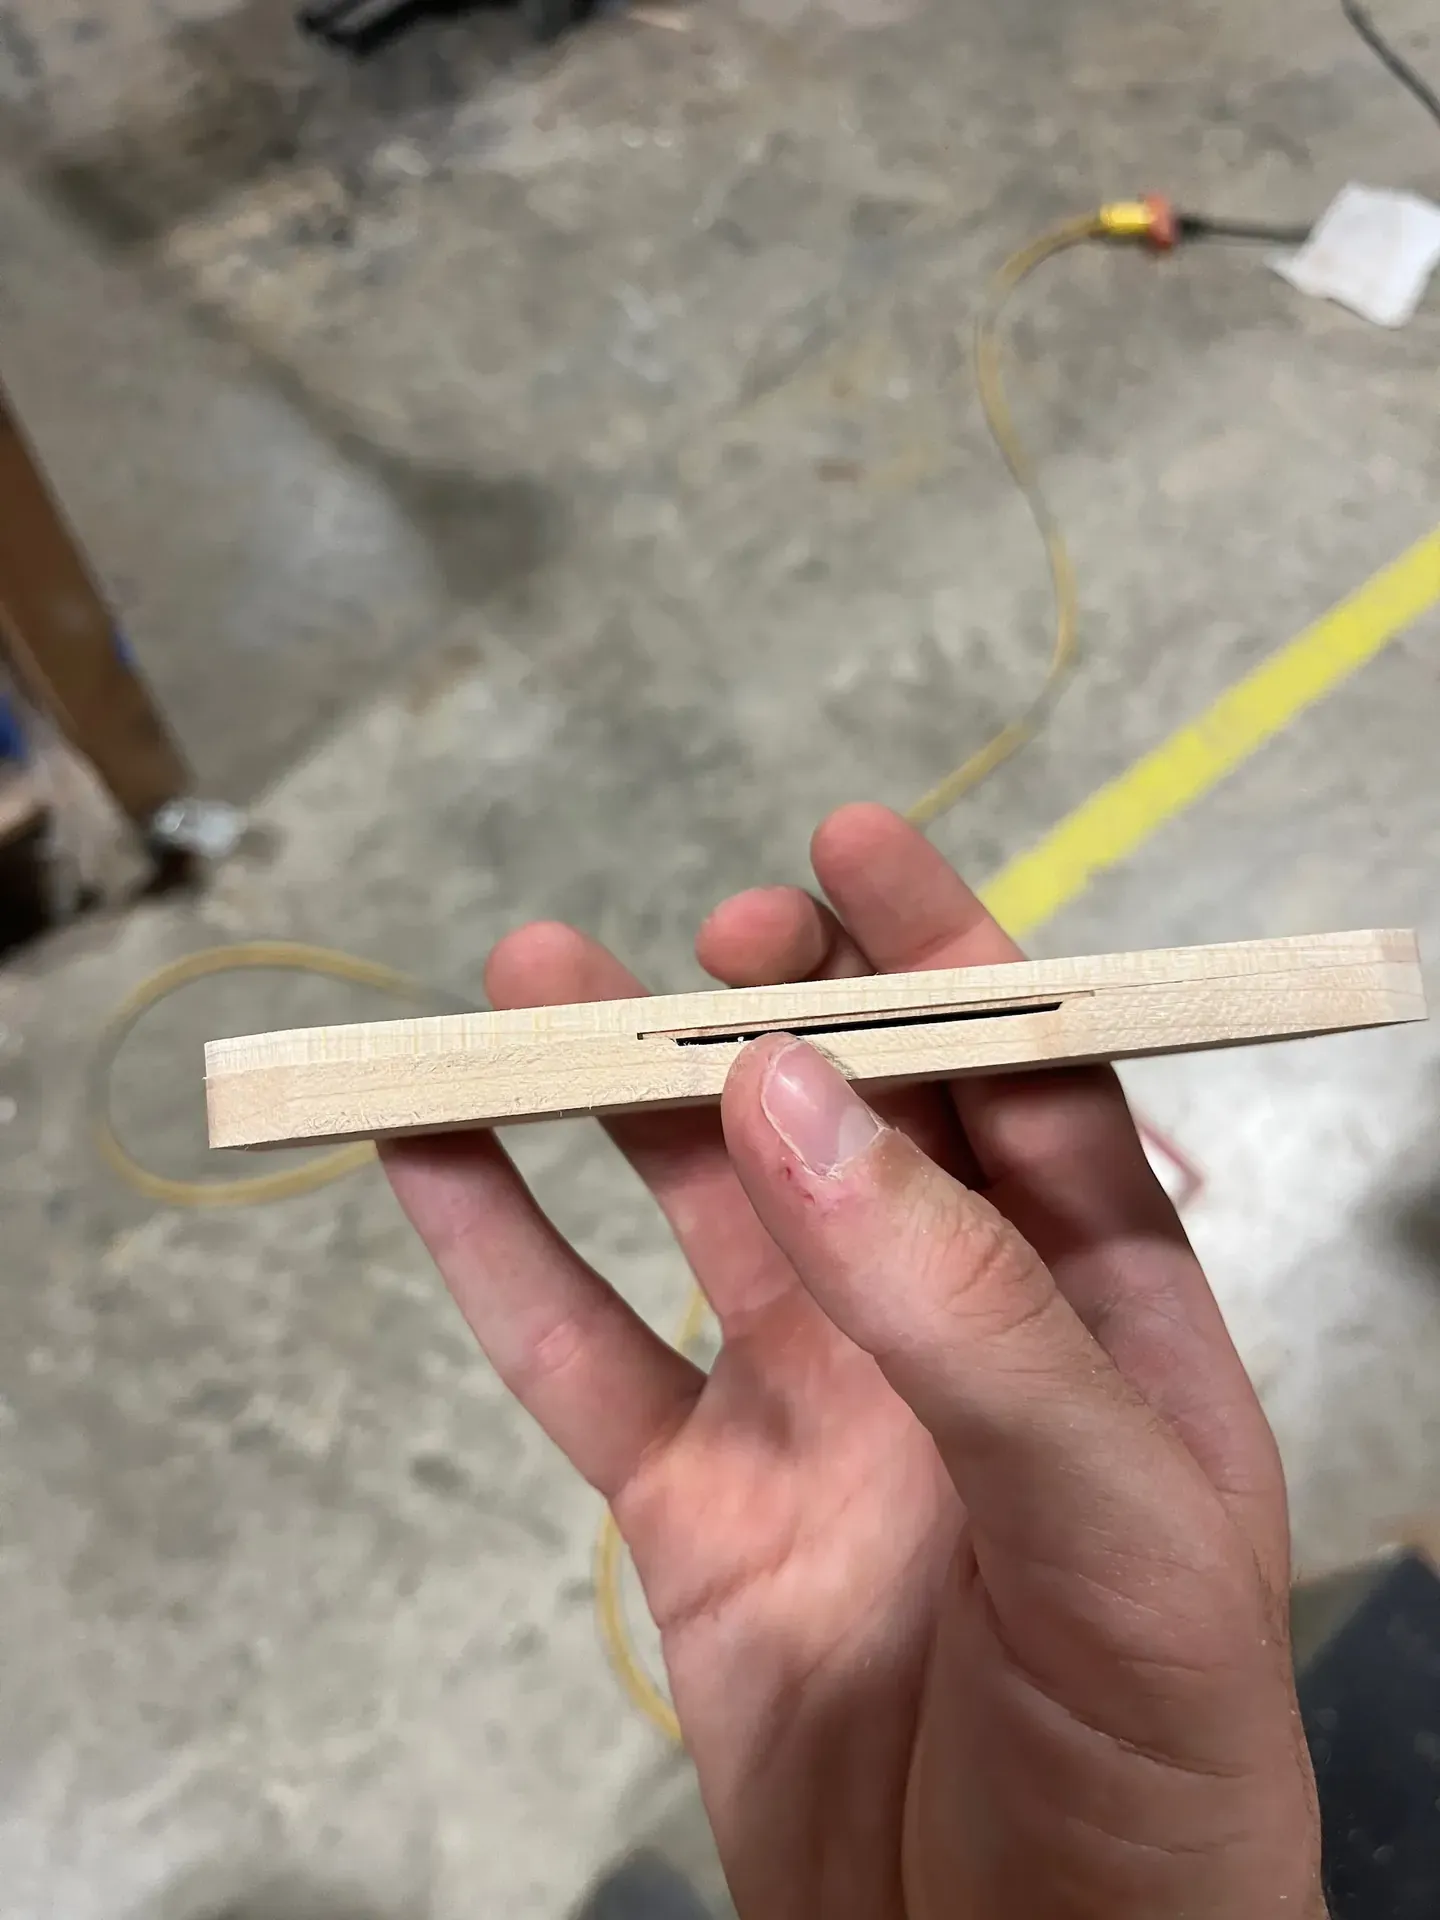
The culprit wound up being a discrepancy between setups in my CAM. This machine
doesn’t have a tool setter, so the way to set different tool heights is to touch
off the tool on the top of the stock. I had two setups for this project: facing
and everything else. For my second setup, I’d set my stock mode in Fusion to
From Preceding Setup with Continue Rest Machining checked. I’d interpreted
this as “the stock for the current setup is whatever’s left from the previous
setup”.
This turned out to be true for toolpaths, but importantly, these settings do not update the stock box points, which still come from the original stock definition. And because I used one of these points as my origin, whatever height got faced off in my initial setup wasn’t accounted for in later operations.
Fortunately, the fix for this was easy— I just set the stock dimensions for the second setup manually. With that out of the way, the rest of the machining went smoothly.
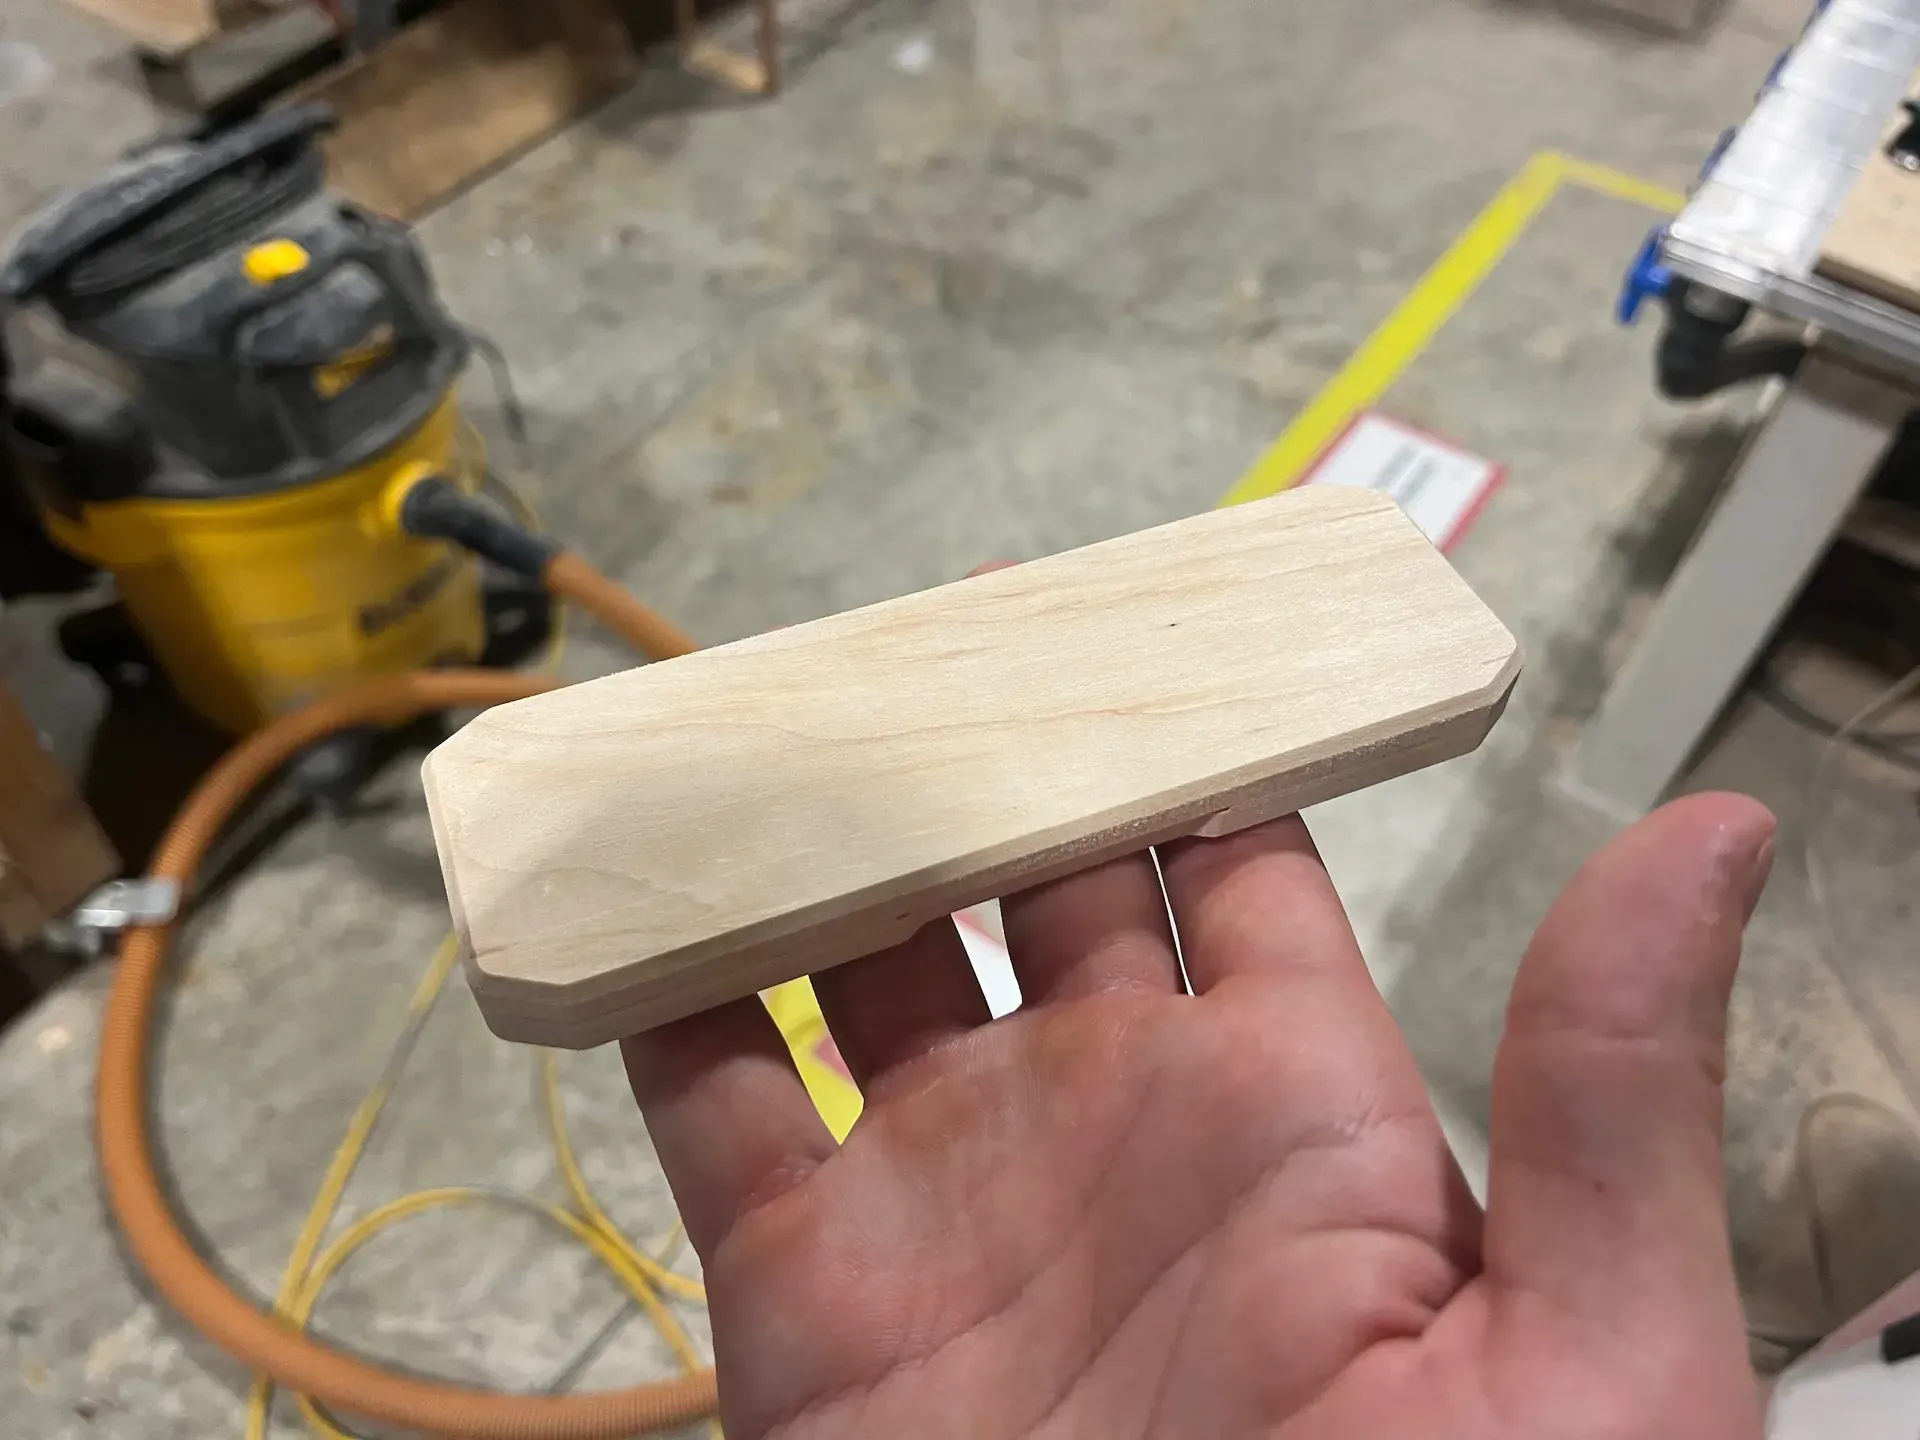
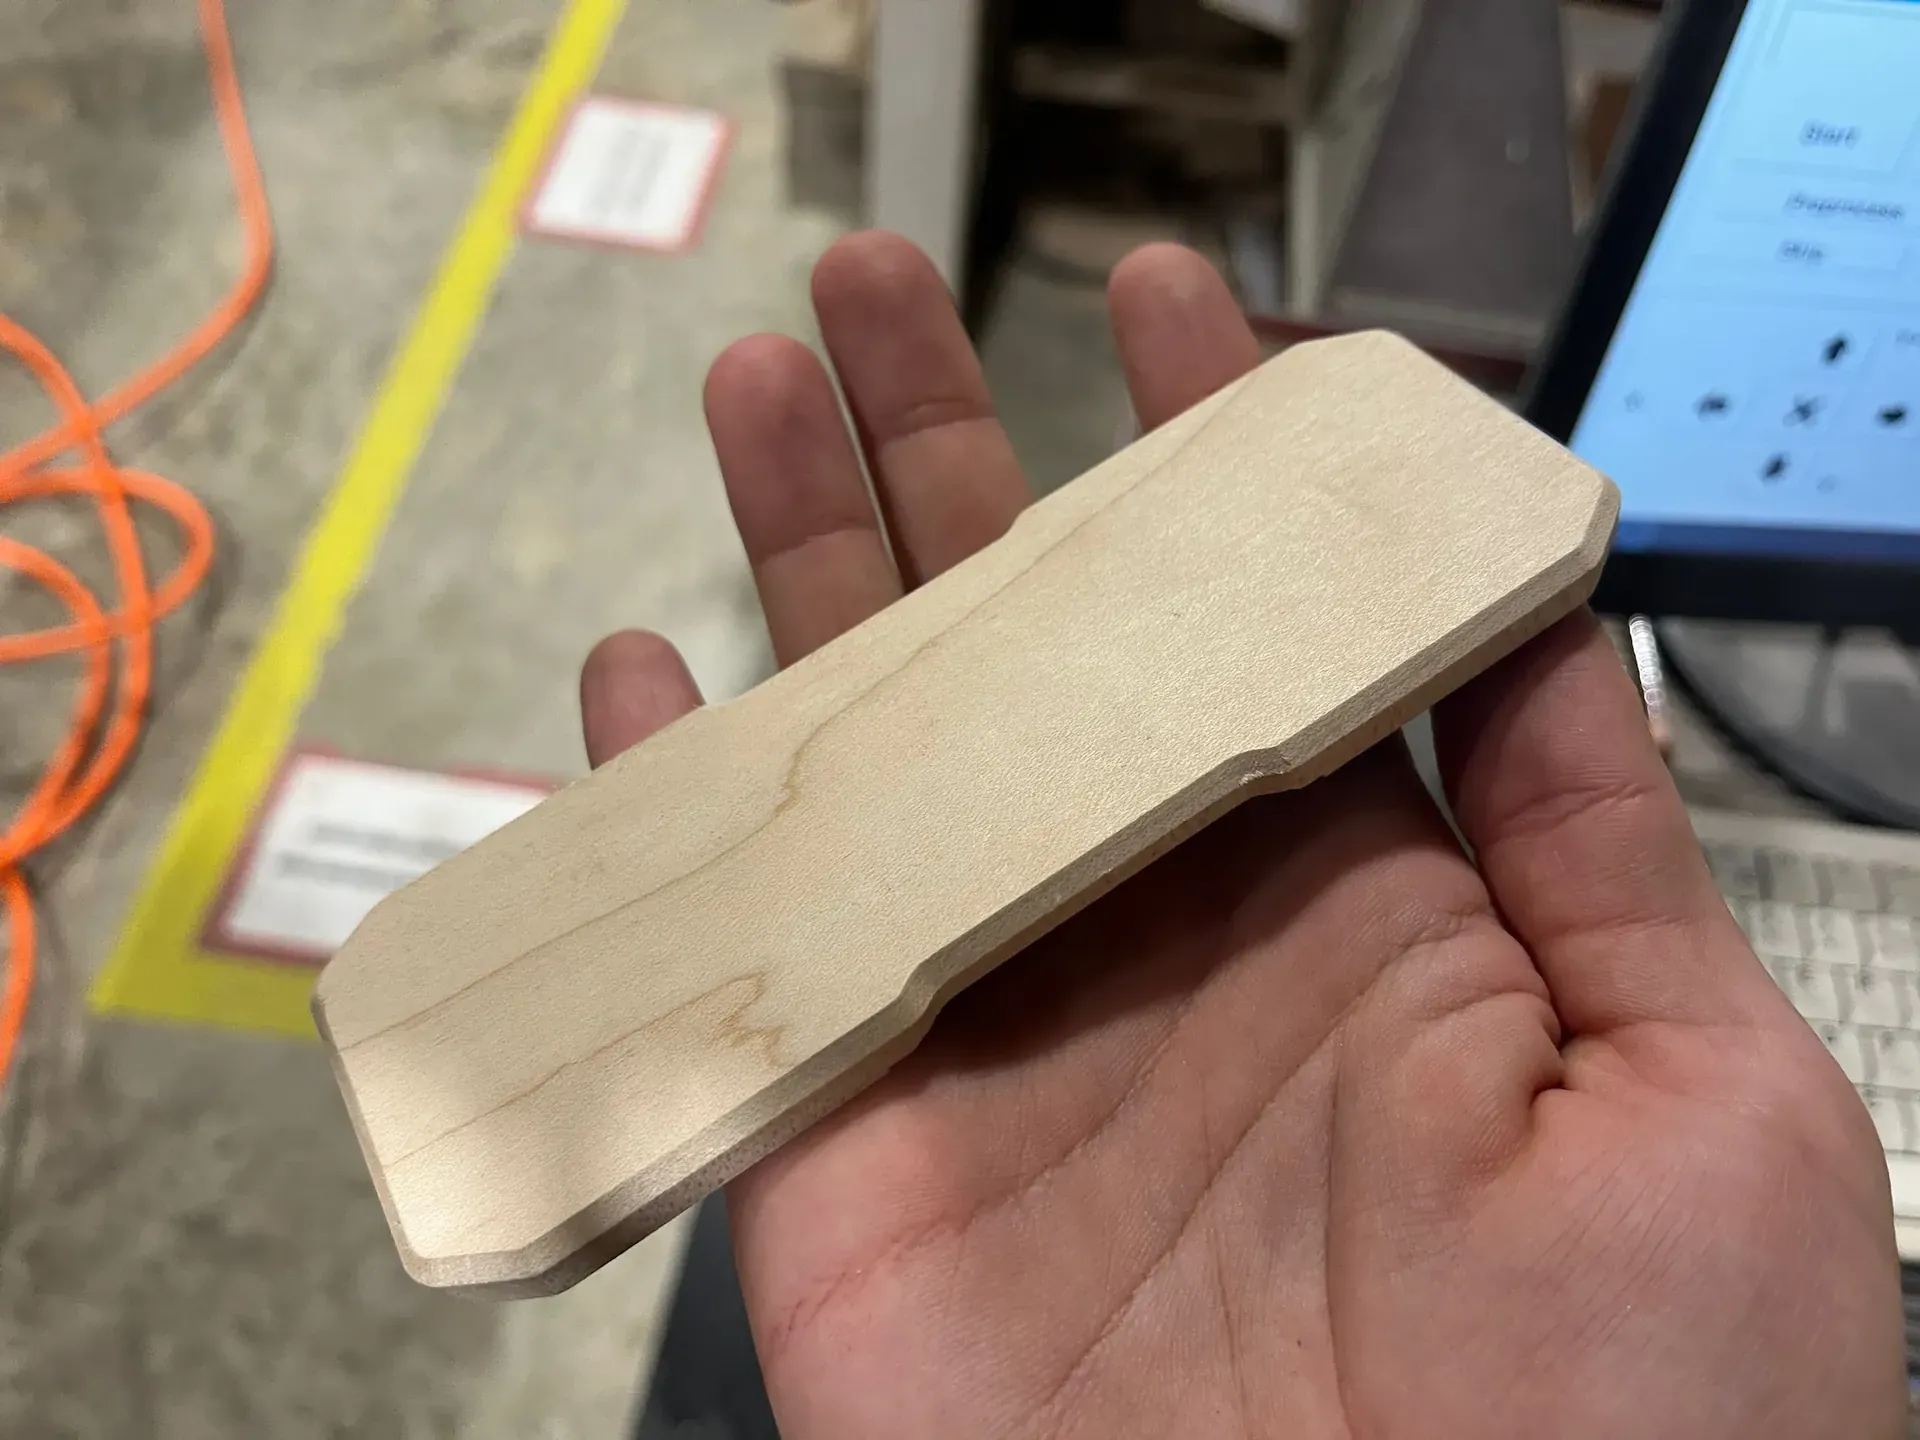
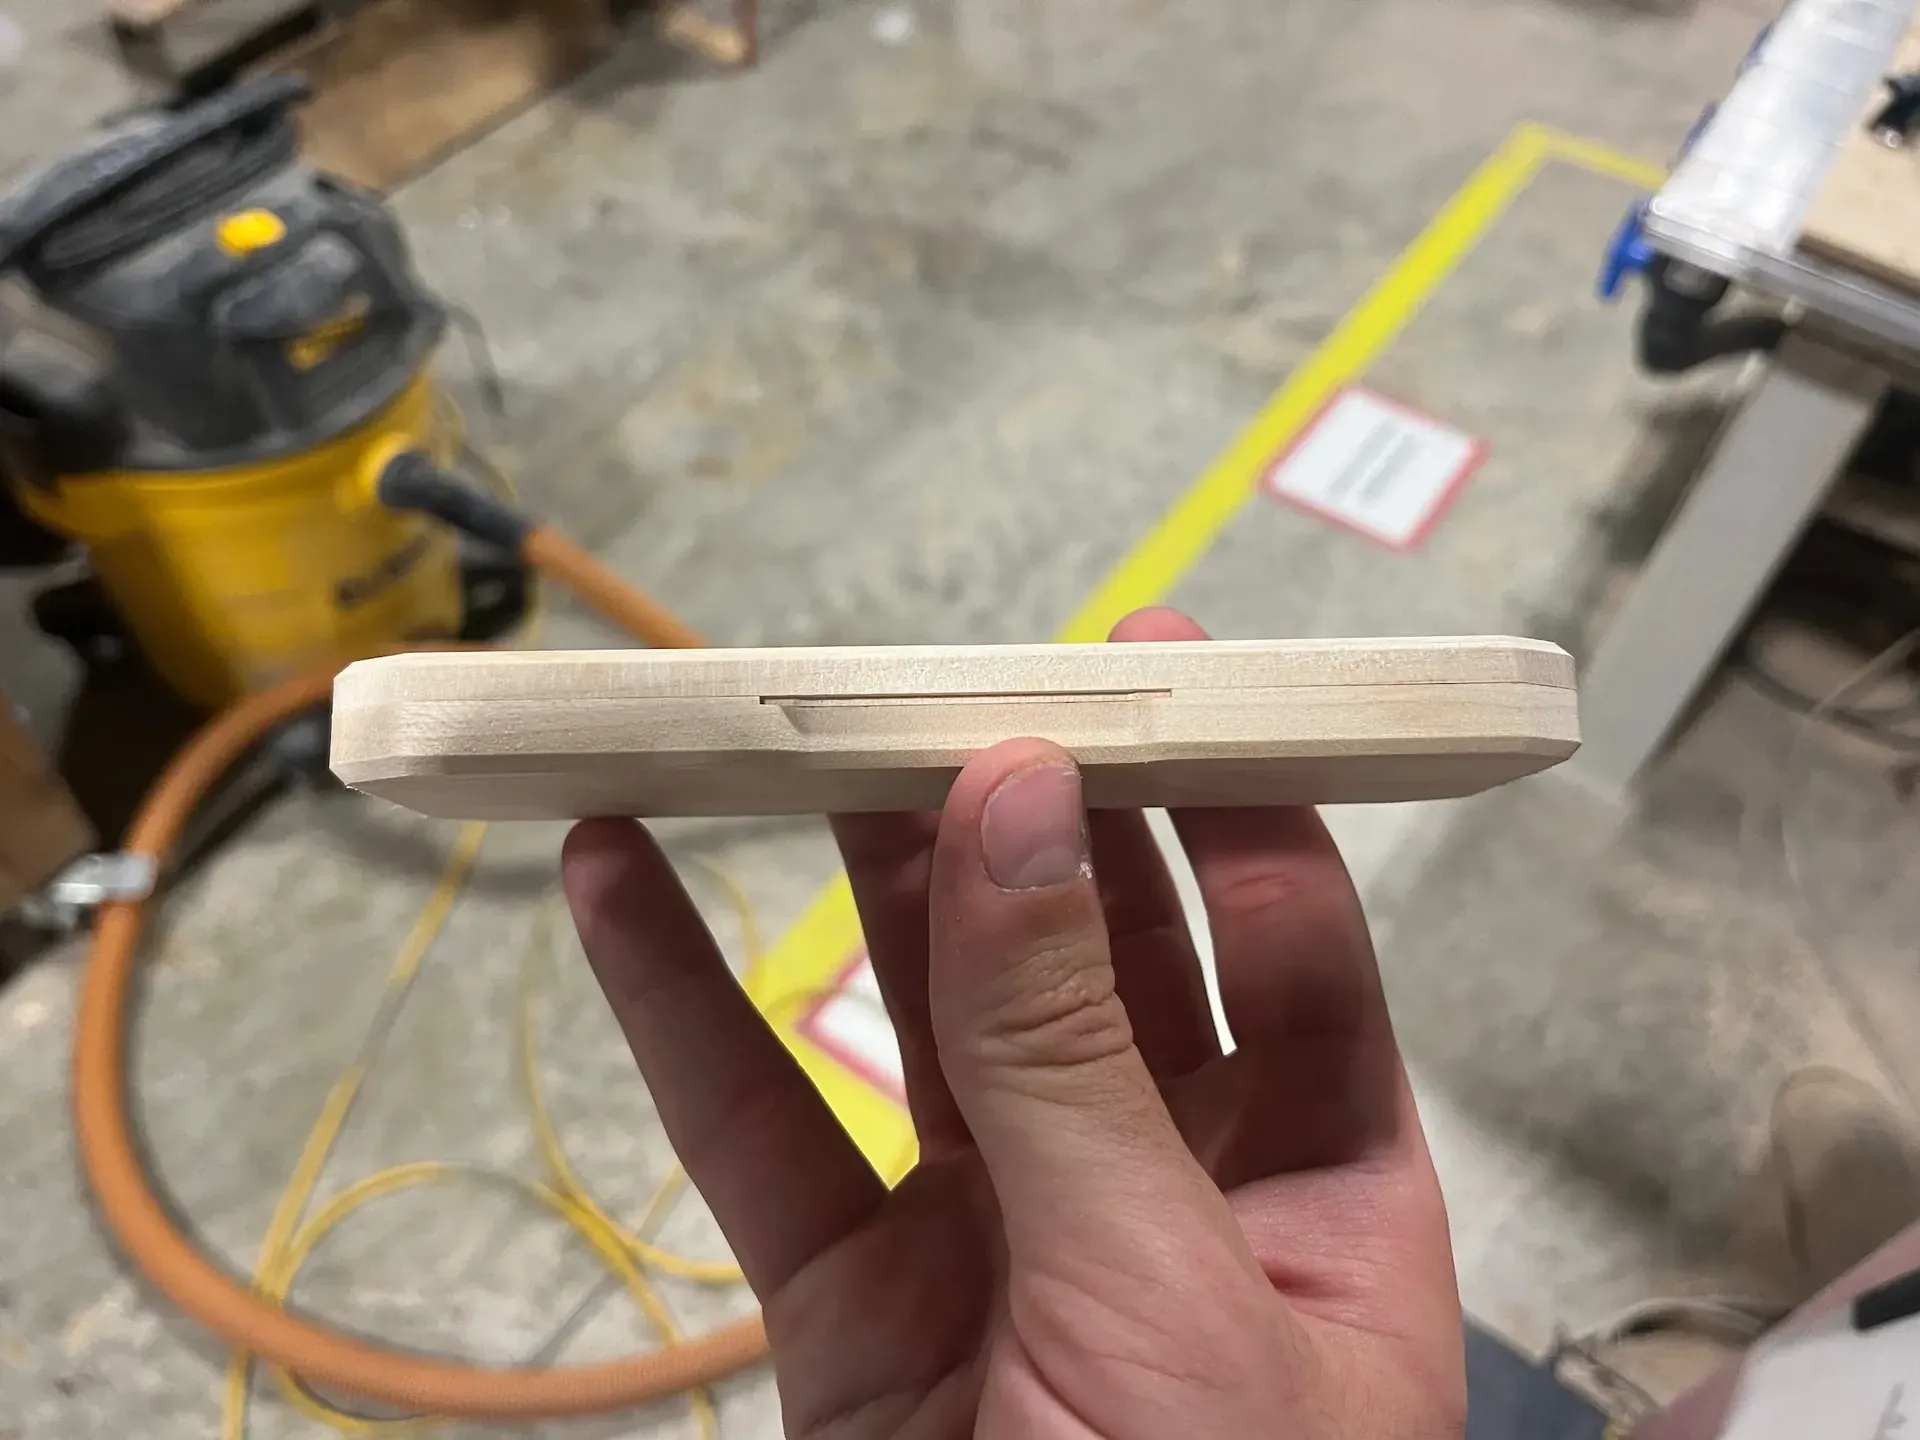
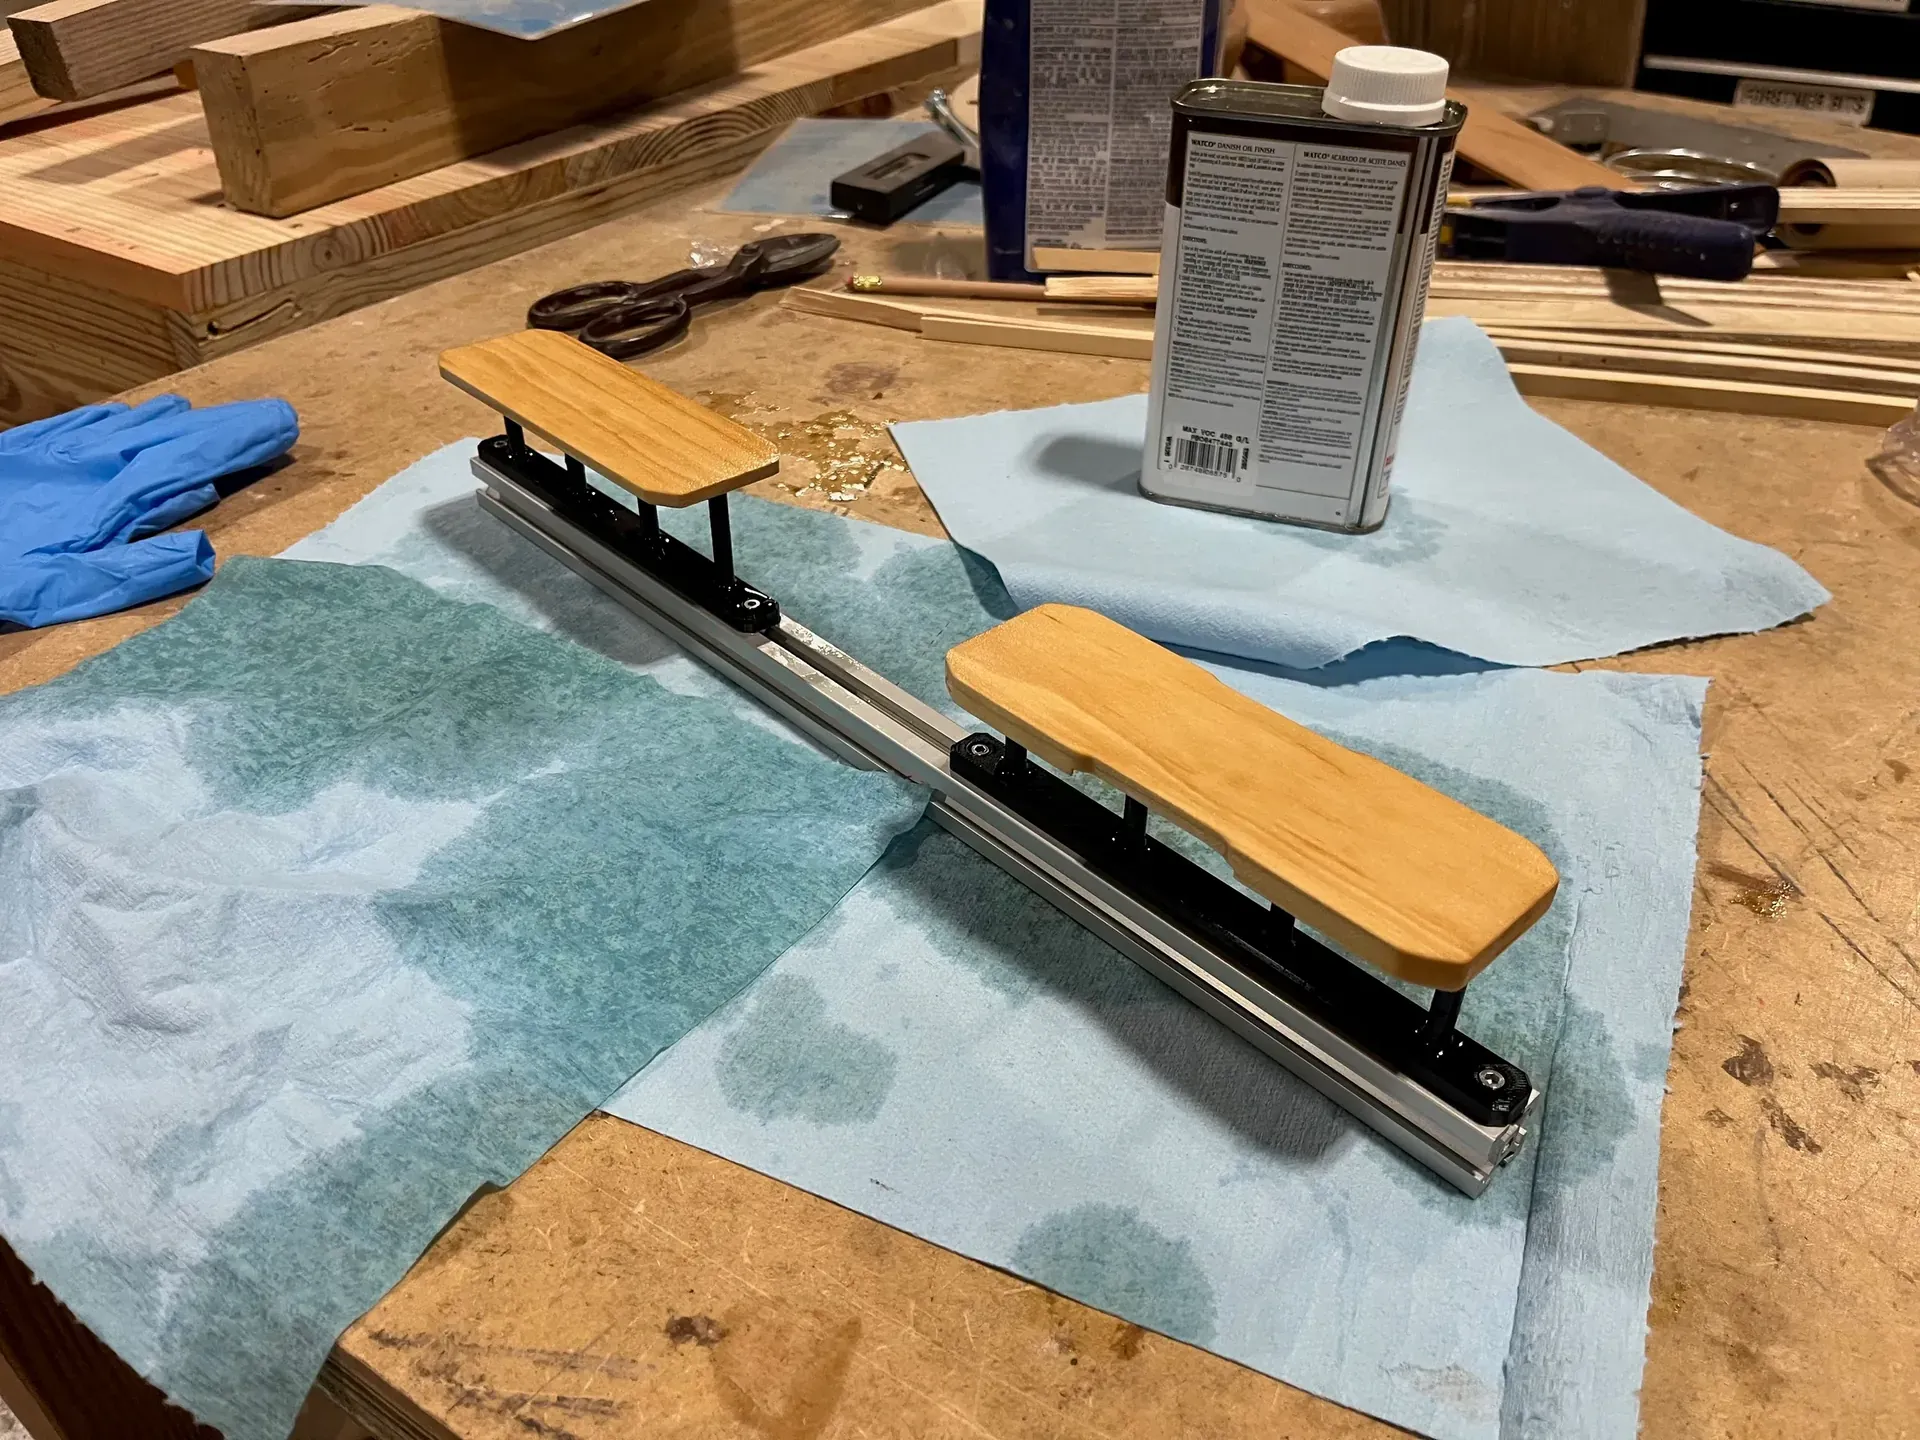
To machine the chamfers on the exterior of each part, I used a 3D printed jig for workholding, shown above. The milled parts prior to sanding and finishing are shown below.
Wood Finishing is Hard, Apparently
After machining the case, I sanded the parts using progressively finer sandpaper, up to 320 grit. At this point, I felt like I was almost done with the project; in hindsight, I realize I was getting ahead of myself.
I chose Danish oil to finish the case, partly because I’d read it was the most foolproof option, and partly because an oil-based finish seemed like it would be easier to apply than a surface finish like wipe-on poly to parts like this with small channels and crevices.
The problems I experienced with the finishing process were almost entirely due to insufficient research. It didn’t occur to me until halfway through the finishing process— after I’d already applied several coats of oil— to watch a video demonstrating proper application. Instead, I read a few written explanations, one of which used the phrase “flood the wood”, which for some reason really stuck with me. So, for the first few coats I did exactly that: I poured copious amounts of finish onto the parts, trying my best to flood them with oil. Some of the aftermath is visible below.
This mistake seemed to be more messy and annoying than anything else. After waiting about 15 minutes for the wood to absorb the oil, I would still wipe off any excess, so— as far as I can tell— these early coats didn’t ruin my parts; they just made for an unpleasant and tedious application process.
Eventually I watched a video, figured things out, and applied later coats by dipping a clean shop rag into the oil and then wiping it onto each part, which made for a much cleaner experience.
Between the last few coats, I also used 400 grit sandpaper and #0000 steel wool on the outside of the case, which gave the exterior a great finish. Unfortunately, because of the geometric complexity of the inside of the case, I wasn’t able to give it the same treatment, so the interior is noticeably rougher than the exterior. This, in my opinion, is the case’s biggest shortcoming. It’s hard to notice at a distance, but can certainly be felt, and can make the case a bit hard to open at times. I’m definitely going to be keeping this in mind for future projects.
Between testing out finishes, making mistakes, waiting for oil to cure in between coats, and just generally dragging my feet, this process took me several weeks to get to a finished product. Finally, I used CA glue to fasten magnets into each case part. And with that, I called it done.
Conclusion
This was a fun project. Although it’s far from perfect, I use this case daily to carry my pen and pencil. It works well enough, and I’m happy with what I learned.